|
Charmayne's Quilling
and Curly Cues |
Arden's Beetle
Last May, 2016, I got to visit my son and his family in
Florida. Hanging on my oldest grandson's clipboard was an art project from
school. I fell in love with it immediately. I decided I needed to quill this
beetle. So began the journey into mosaic work. Now, in February, 2017, I have
finished my beetle, too. Yes, too. I have made two! I spent weeks and weeks and
weeks on my first, made a few mistakes and tried to reinvent the wheel. Shortly
before Christmas I finished Arden's Beetle but it was too late to send it to
Arden for Christmas. So I propped it on the floor at the corner of the TV and
enjoyed it, procrastinating sending it off to Florida. I really like it!
Early in February up popped Erin Curet's latest
Quill-Along project, a very nice tree she has titled BE STILL MY HEART. I liked
it immensely and decided perhaps if I did it, I could learn how to properly
quill mosaics and make another beetle for myself. I ordered the paper kit right
away and downloaded the tutorial on Valentine's Day. That is February 14th. I
read and re-read the tutorial and light bulbs flared in my little brain. Oh, my
goodness! I can make Arden's Beetle now! While waiting for the paper to arrive
(postal delays I guess), Bob cut me 11" x 14" boards for the Quill-Along project and for
another beetle. I painted the Beetle board with green, yellow, orange, black and
white paints. I stamped leaves in the almost dry paint with big leaf design
stamps I also put paint on. Then, since I did not have any card stock for the
outline, I glued black strips together and waited for everything to dry. From
start to finish, it took me four days. Four days instead of weeks!
The two beetles are quite similar with the backgrounds
showing the most variation. For my first, I used
a piece of heavier paper (not even card stock) for the background and stamped it
with leaves. I made the beetle on wax paper covered cardboard with the drawing
under the wax paper. Should have been easy but it wasn't. Pins got in the way,
so I would take them out and the beetle would shift. I had to keep waiting for
pieces to dry in place so I could remove the pin to position the next piece. I
did not put in the circles first, etc., just all sorts of problems. And when I glued
the finished beetle to the green background, the paper buckled slightly. But
finally
it got put into the frame and I enjoyed it for 2 months. Progress on the second
Beetle went like wildfire. Using the chipboard and a drawing right on the board
made life much easier. The edging of the beetle and main sections also helped a
lot. And Erin's little comment "just fill-in spaces with other quilled shapes"
gave me the confidence that maybe my first mosaic wasn't wrong after all.
Below you will find the finished results plus what I did
on the computer to take Arden's original artwork to something I could quill. The
quilled pictures link to larger ones. I forgot to take a picture of the first
quilled beetle without glass. The reflections are horrible to deal with so the
photographs are dark.
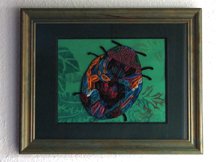
The first Arden's Beetle in a frame. |
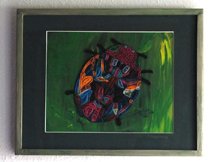
The second Arden's Beetle in a frame. |
|
|
|
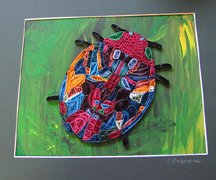
The second Arden's Beetle matted, no glass. |
|
|
|
|
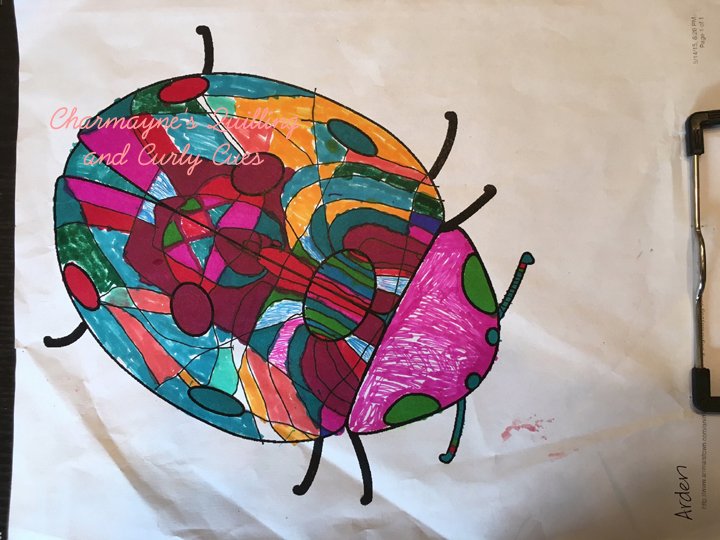
Arden's original artwork |
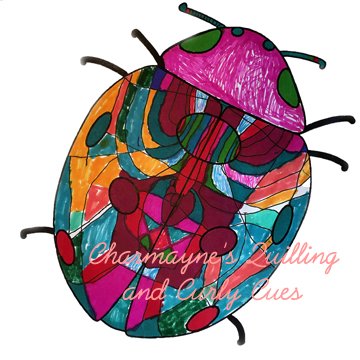
beetle with background removed |
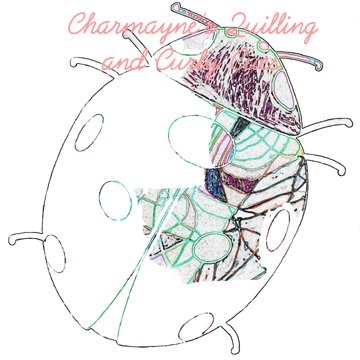
Beetle with glowing edges, erasure process nearly done. I was amazed to
see a lady bug appear when I had the photoshop program "find edges". But
too late, it forever is Arden's Beetle! |

The usable drawing. |
|
|
|
Back to Charmayne's Quilling
home page


