Christmas quilling! Tree ornaments and
Santa Claus. Fun
seasonal projects that seem new each year when I unpack Christmas decorations.
My Angels and stars and snowflakes have their own pages.
Most of the small photos below link to
larger ones, just click the photos.
|
2023 |
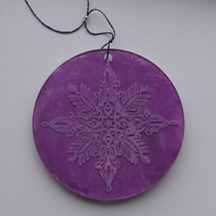
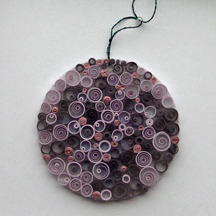
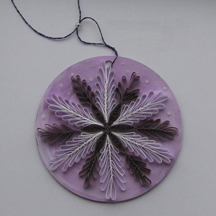
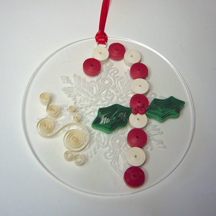
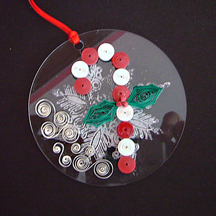
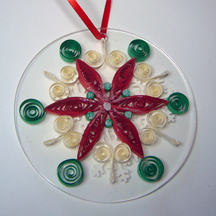
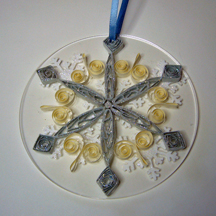
This year's tree ornaments included some made on acrylic ornaments.
Another trial and error for me. I used E6000 glue to adhere the quilled
ornaments (snowflakes, reindeer, candy candy canes, ornaments) but the
back looked bad with the glue showing. I used a giant stamp and acrylic
paint to help disguise the e6000. After a trial painting the entire
back, I switched to just stamping the snowflake, sometimes on the front,
sometimes on the back. Paper snowflake punches glued on the back will
also hide the E6000. |
|
 |
 |
 |
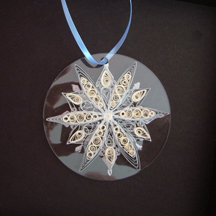
This ornament has a quilled snowflake front and back. |
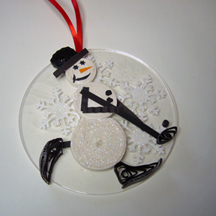
The hockey playing snowman. |
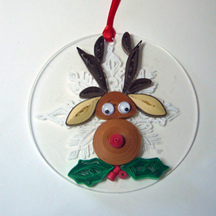
my favorite!
design by
EasyQuillingPaper |
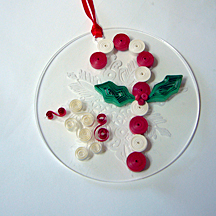
Candy
canes, each a bit different |
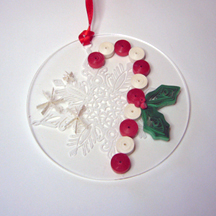
number 2 |
number 3 |
|
 |
 |
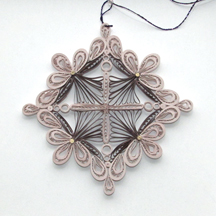
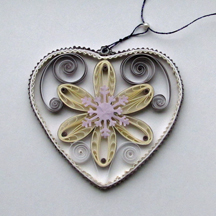
And two ornaments not on the acrylic discs... |
 |
 |
|
|
|
|
|
Christmas 2020 |
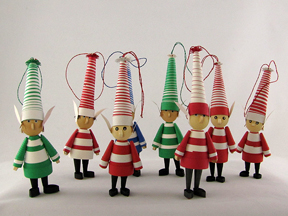
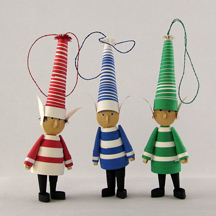
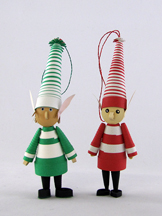
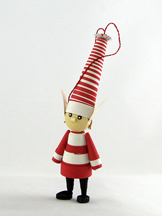
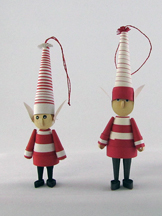
Elves!! More elves were made for grandchildren and assorted gifts. These
are similar to the one I made in 2018 (below) from Patrick Krämer's book
but as hanging tree ornaments and I figured out how to make them a
little more stable so they also can stand up, too. The hanger goes
through the hat and is secured inside it with a big bead. |
 |
Florida elves:
 |
Colorado elves:
 |
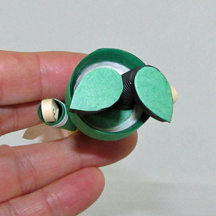
the feet have cardstock bottoms:
 |
For my tree
 |
two elves for special people:
 |
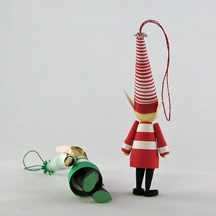
This is how they look under the bodies. A tight roll is inserted in the
body for the feet to be glued to.
 |
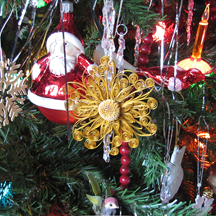 |
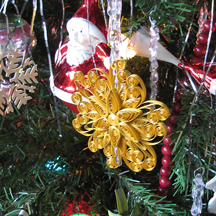
front and back of another
quilled ornament for the Christmas tree |
 |
|
|
|
|
|
Christmas
2019 |
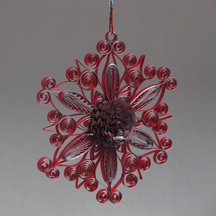
silver edged paper |
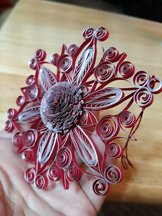
ornament with fringed center |
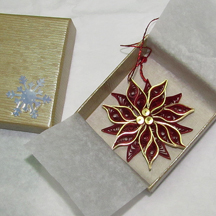 |
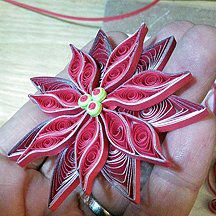
Poinsettias make good pins, necklaces, and tree ornaments. The one to
the right is a brooch. You can see what I do for a secure pin back on my
jewelry page. Both
are
almost three inches across.
I like to recycled jewelry boxes for storing my
ornaments, which is what you see in the photo. |
 |
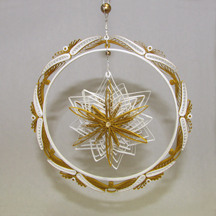
A star inside a hoop ornament. |
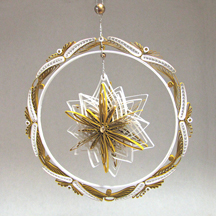
The star revolves independently from the ring. |
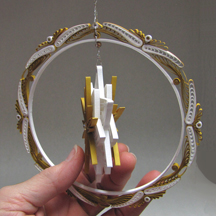
5 layers make up the star. |
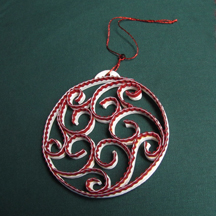 |
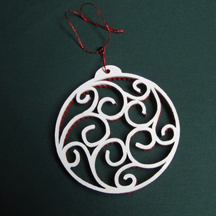
This ornament idea is from a
popular Facebook posting. The original was
by Jeanette Barber, using a base cut out from cardstock on a Cricut. I
had mine laser cut from balsa wood and painted them white. There is a
plain strip of white 1/8" quilling paper sandwiched between 2 crimped
strips. I did not have the patience to do both sides as does Jeanette. |
 |
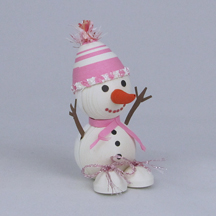
3d snowman with her fancy cap and shoelaces. |
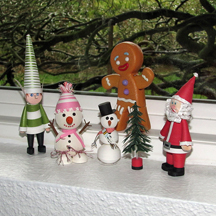
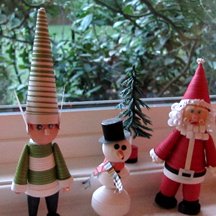
She sits with several "friends"
on the window ledge or... |
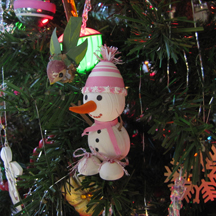
...she can hang on the tree by adding a loop through the hat. |
|
Footnote to my elfman. If you look closely, you can see the clear
plastic base he stands on. I try to get my 3d "people" to stand on their
own. This one, and the snowman, are not stable enough to stand on the
textured window ledge. |
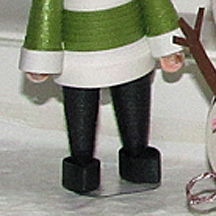 |
Since I got tired of standing them up, I glued a thin piece of plastic
to them. It has a tiny bit more surface area yet isn't too noticable. |
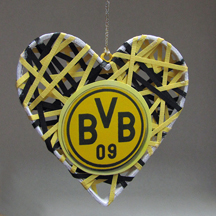 |
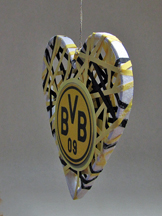
For my friend, Daggi. It is an ornament for their BV Borussia 09 e.V.
Dortmund football team in Dortmund, Germany.
|
 |
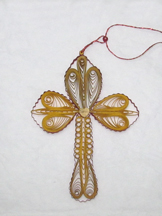
My first cross. |
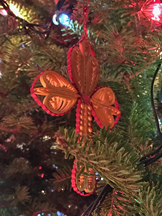
It looks nice on my brother's Christmas tree. |
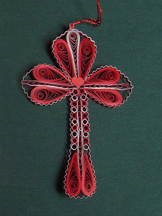
And one for me with
a silver edge. |
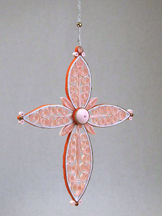
Another cross. So many variations are possible. |
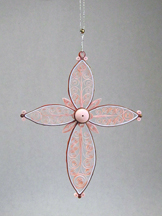
Lacy and airy looking from straight on. |
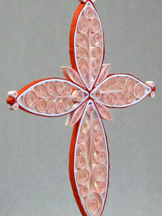
This photo shows the back. If you don't like your center point, add a
narrow strip quill over it. |
|
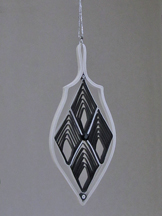
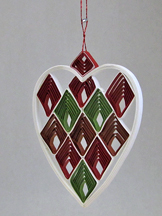
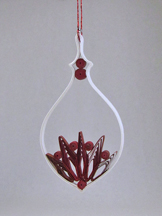
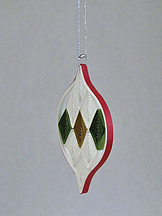
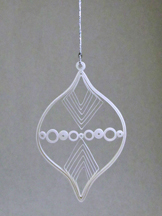
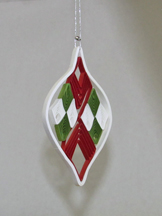
Below are 6 of the Harlequin Christmas ornaments I made. They were
designed by Karen-Marie Klips. I bought the kit consisting of 5mm wide
strips and the instructions. |
These were all made before the plastic form was developed. Each shape
was formed with pins and a grid. |
The most challenging part of this project was to get the diamonds to
fit, touch, be even, and not be squished weirdly. |
 |
 |
 |
 |
 |
 |
|
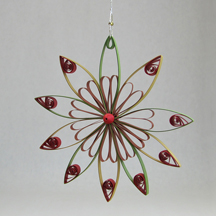
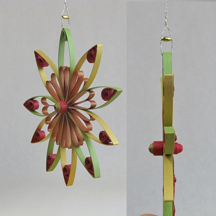
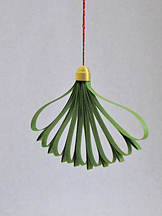
I used some of the strips to make two more ornaments. |
 |
 |
|
|
 |
|
|
|
|
|
|
Christmas
2018 |
|
|
|
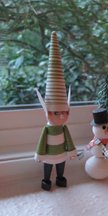
Santa brought me a new quilling book for Christmas. The book is
Quilling für die Weihnachtszeit by
Patrick Krämer. It is in German, has full sized patterns included and
about 15 projects. A very good book! Here is the first elf I made: |
 |
 |
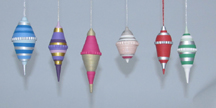
Christmas Bauble Project |
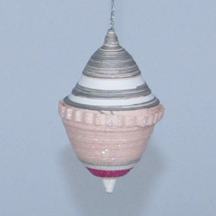
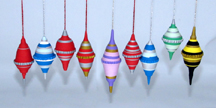
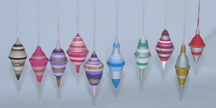
Quilled Christmas gifts to family and friends this year were
mainly these little ornaments. Ann Martin posted a tutorial on her blog,
"All Things Paper", in December 2013. Link:
https://www.allthingspaper.net/2013/12/rolled-paper-christmas-ornament-tutorial.html
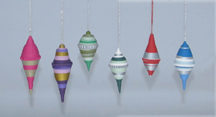
I loved this project and made dozens of them. I put together sets for
the gifts. No two are alike! |
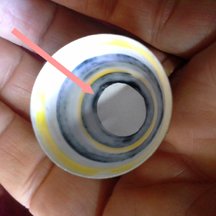
After a few baubles I decided to try to make them rattle. My first one
with a few beads inside did indeed rattle but I discovered the beads
could get stuck in the pointy bottom. I solved this by gluing a round
piece of cardstock on the interior. |
 |
 |
 |
|
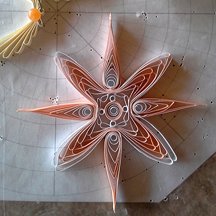
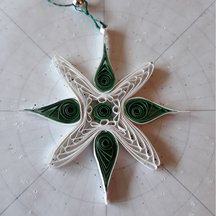
The ornaments to the right were made using a comb. You can buy special
quilling combs or use a normal hair comb. I folded the resulting quill
"backwards" from the way these quills are normally used. Click on the
photos to see how interesting this is. |
 |
 |
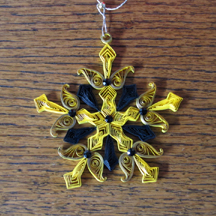 |
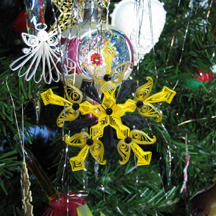
This ornament may look like a snowflake at first glance but it only has
5 spokes. Not a snowflake. I used a 5 spoke polar grid to get my spokes
equidistant. It makes it much easier using a grid. The yellow paper has
a gold edging on it. It just looks darker in photos but does shine in
the proper light. |
 |
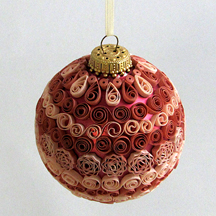 |
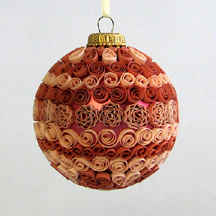
This is a commercial painted glass ornament. I added the 2 colors of paper
quills. I used my normal Elmer's glue.
I will give it a quick spray
of sealant as it is a gift and I would not want any to fall off. Just a
precaution. |
|
|
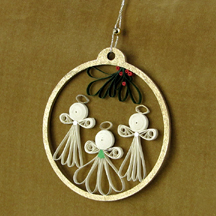
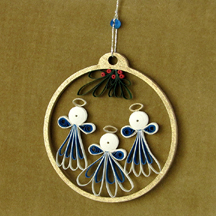
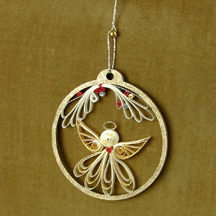
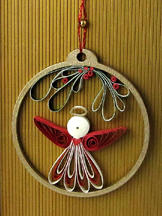
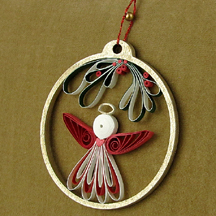
I made four of angel ornaments. I purchased two sizes of laser cut
wood ornament rings from Dimension Laser.com. I painted all my rings with a
soft antique gold paint before adding the quilling. The first ones are
Karen-Marie style angels. The simple loopy greenery is an idea by Anita
Wöller. I added little berries, both tight rolls and tiny punched
circles to embellish the greenery. |
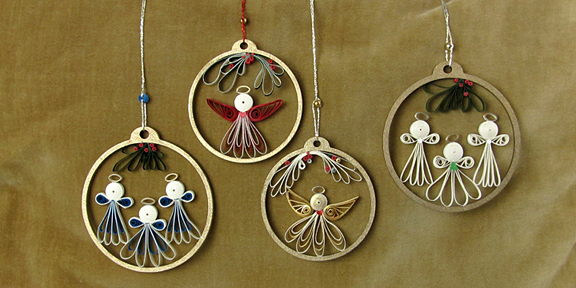 |
Most of the quilling strips are just the normal 1/8" wide strips. All
the halos and the golden angel below were made with gilt edged strips. I
cut the strip for the halos lengthwise to make it narrower. |
 |
 |
 |
 |
 |
|
|
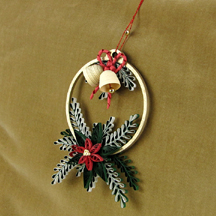
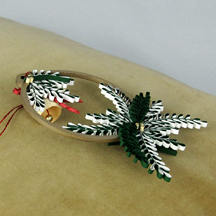
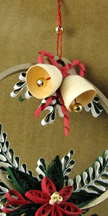
The ornament just below was inspired by Monika Schwarz. |
She used comb quilled leaves of green with white. I glued the two strips
together before forming the leaves. She added a wreath to the top where
I put little 3-d bells with clappers. |
My bells are of gilded paper but that
did not come through in the photos. I also added greens and berries to
the back of the hoop, both for balance and interest. |
front |
back |
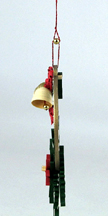
close-up and side view |
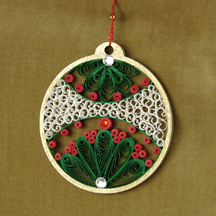 |
To the left is another hoop ornament. I filled the space with two sizes
of eccentric tear drops, tiny tight rolls I rolled on a corsage pin, and
beehive quills. Three little rhinestones add a bit of sparkle. |
|
|
Christmas 2017 |
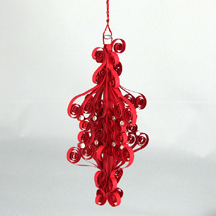
From an vintage quilling kit sold by Artistry in WOOD, Columbia,
Illinois. It was complete with instructions, jewels, paper, and center
post. The paper had yellowed so I used my own red strips. |
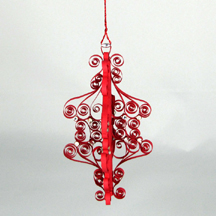
This is the Shooting Star. "Out of the World ORNAMENTS. Heavenly bodies
to orbit your tree....." Worst part of this ornament is trying to store
it undamaged! |
Spritz Christmas cookies! Quilled!
These are so cute. The idea is
from Lorrie Timberlake. Her's are actually smaller than mine turned out.
They are adorable on the tree. Make a baker's dozen! Sweet! |
 |
 |
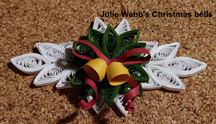
This project was inspired by Julie Webb. Many other quillers have used
the 3-D bell shape including Ze A-Quilling Dreams, Neli,
Artmonica-handmade, IS Z, and Gaylaine Boivin but Julie's bells on top
of Marquise quills caught my eye and I adapted her design into my 3 ornaments.
 |
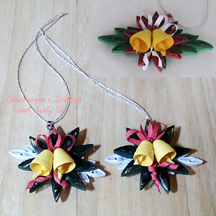
One for my Christmas tree, two for gifts.
|
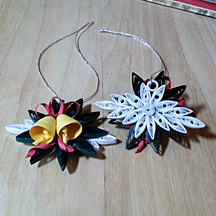
My version includes the bell clappers,
berries. a hanging loop, finished reverse
side, a 3-loop bow, and is narrower. But still it is Julie's design. Thank
you, Julie! |
|
Christmas 2016 |
 |
|
|
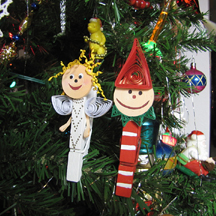
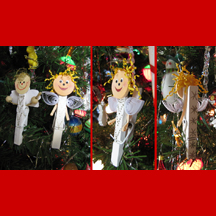
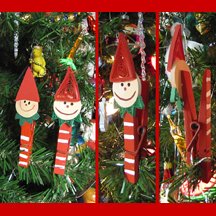
I rather got stuck on snowflakes and stars this year but I did make a gift for my
friend, Daggi. She sent me the 2 little clothespin ornaments last year.
Next year she will get back my quilled version. |
 |
 |
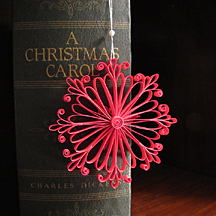
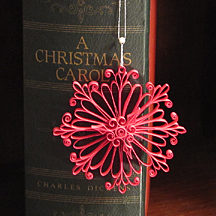 |
A quilled Christmas tree ornament, front and back. |
 |
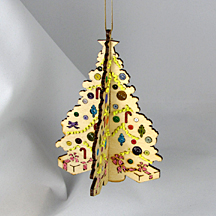 |
This is a small wood Christmas tree-shaped ornament, maybe 5 inches tall
at most. It came just full of the holes for the ornaments, presents and
garlands. I decided to use scraps of quilling paper to fill in the
holes. It has 4 sides. It took awhile! Especially as I filled in all the
very tiny holes which comprised the garlands. That was crazy. And it did
not look good. My friend, Gail, suggested spirals. Perfect. I cut strips
in half lengthwise and rolled them on my needle tool. I glued them on
top of the filled-in holes. I had glued in all those 1/2" tiny tight
rolls. Worked fine and the tree looks so much better. |
|
|
|
|
|
|
Christmas 2015 |
|
|
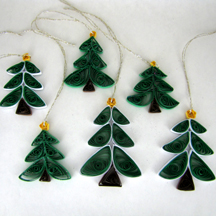
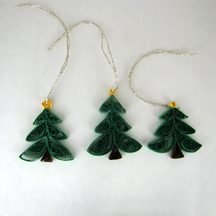
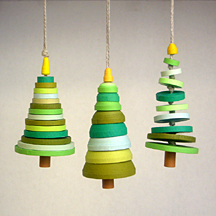
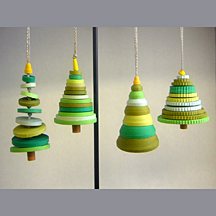
I found a cute set of tree
ornaments designed by Erin Curet (littlecircles.net). There is a
tutorial link on her web site. The actual tutorial is on Craftsy.
A couple of warnings... It took me far longer than Erin's hour
estimate.
Experts always work quicker! The other caution I have is to not go by
her numbers of strips needed if you are not using her paper. I had a
large number of leftover greens from different manufacturers. This
caused me no end of problems as I tried to make the trees until I
quit trying to use her strip numbers. I used my actual circle sizes.
I love the way they came out. I even made a second set to give away. I
also made a tree from crimped paper at Bob's suggestion. After the first
couple of top-most layers, I began each circle with un-crimped paper,
finishing the outer edges, the part that would show, with the crimped
paper. It was far more stable. |
 |
 |
| |
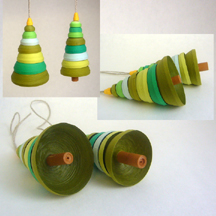 |
Another caution... Don't dome the circles too much or your trunk will
not show when the tree is hanging. I did not want to add another piece
of trunk as it then looked way too long. I actually made my trunks a bit
differently from Erin's instructions. I have a plug in the top of the
trunk as well as the bottom. I did not want my cord to have any kind of
chance of coming out. The cord is
glued inside the trunk, too, as a further precaution. I made two plugs,
glued one into the top of the trunk, threaded the cord through the trunk
and inserted the other plug. A bit more fooling around but very secure. |
| This little Santa belt ball
ornament took for ever and a day! It is quite small. Lots of little red
tight coils to be sure! My base is smaller than a golf ball and is a
hard polystyrene craft ball. I colored it with a red Sharpie before I
started gluing on the black belt tight coils. The Sharpie rubbed
off onto my fingers! Ugh! Try coloring only half at a time to prevent that
problem. |
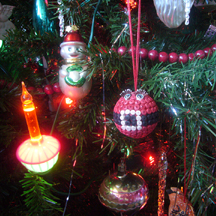
This is not my original idea but I don't know who's it is. I saw the
photo on-line but without any clue as to the maker. So sorry. |
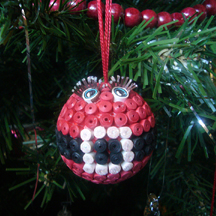
I
added the eyes and long eyelashes. My string goes all the way through
the ball. I just pierced it with a large needle. |
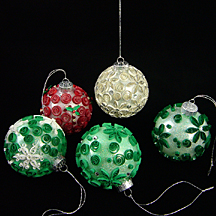
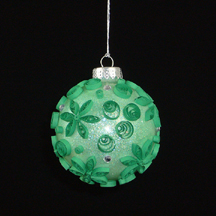
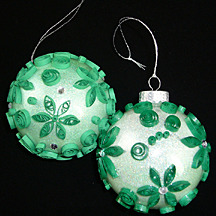
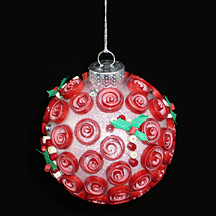
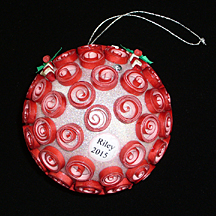
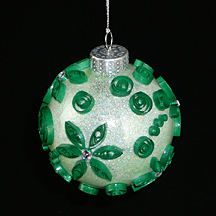
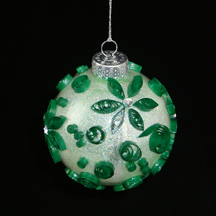
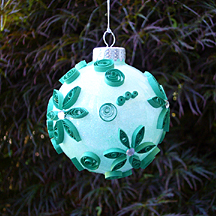
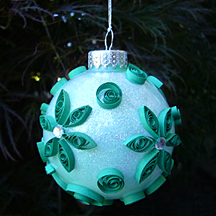
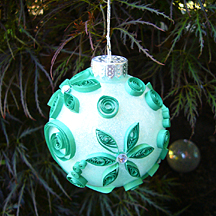
I am putting quilling on the outside of clear glass ornaments.
First step is to add glitter, actually something finer called
Glamour Dust, to the interior of the ornament. It adds
opaqueness and shine and, in the case of the green and red balls, a bit of color.
Check my snowflake page for how-to's.
I sprayed the outside of
one with a sealer so hopefully the quills will stay on. I guess time
will tell as to the durability of the others. I did not like the shine
it gave the paper and I haven't checked into matte sealer sprays. |
 |
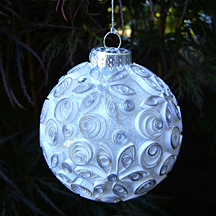
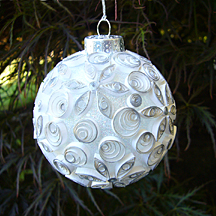
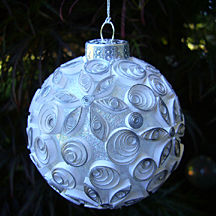
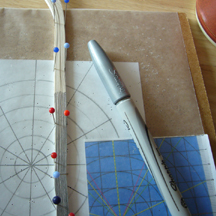
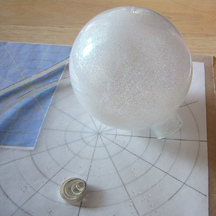
I wanted a silver edge on the quills for my white globe but I
didn't have any of the metallic strips available that day. I had read an
years-old article, I think by Pat Caputo, which suggested using a
permanent marker to edge the strips. I gave this a try and it worked
quite well. Not perfectly but pretty good. I used a new package of
strips and pinned them on edge to my work surface. Bob has since made me
a little jig to use. It is a piece of board with a groove cut into it.
It holds the strips very tightly. This controls the bleeding of the
Sharpie a little and the pins don't get into the way as I lay down the color.
That also helps prevent bleeding. In the right-hand photo directly
below, you can see one of my quills made after edging the bundle. |
 |
 |
 |
 |
 |
 |
 |
 |
 |
 |
 |
|
|
|
|
|
|
Christmas 2014 |
|
|
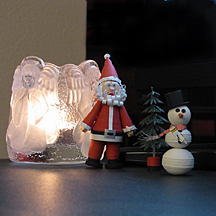
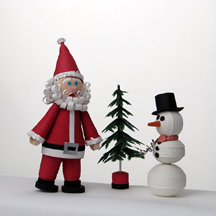
Santa and a snowman. There are so many cute little 3d Santas on the
Internet. I just had to try, too.
The tree is just a little plastic
tree I had intended for a future snowglobe project with the
grandchildren. I put it into a tight closed coil base. |
 |
 |
 |
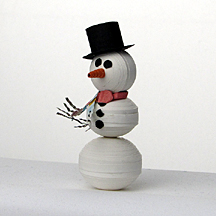 |
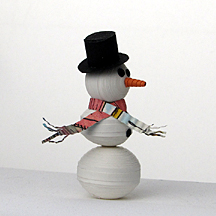
The Snowman's scarf is a crimped piece of my re-purposed Berenstain
Bears story book. I tried to cut circular but jagged buttons for his
eyes and buttons to look like coal. We decided he did not need arms. |
|
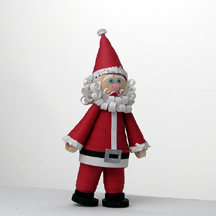
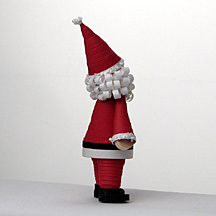
Santa Claus! I am so happy with him! I probably spent a week working on
him but he was worth it. Notice I have him standing flat on his left
foot and tipped onto his right toe. I like to have my 3D creatures look
like they could be in motion any second. The balance is harder to get
right. I pushed his legs around until he stood up and then held him
until the glue was dry. |
 |
 |


