I love snowflakes. Without a
doubt. This project is quilled snowflakes on steroids. They are very large, up
to eight inches across. The giant snowflake project started with a
picture and tutorial I saw quite a few years ago on the website Tikkido.com.
Nikki Wills is the editor of Tikkido.com and also an editor and co-publisher of
Festivities Magazine. She wrote the tutorial for The TomKat Studio, which can be
found
here (opening a new window for you). Thank you, Nikki, for your inspiration.
My first attempt making them was actually a project with
grandchildren Arno and Riley several years ago. Using 1" wide strips cut from
the wrong paper for their little fingers and skill level gave us great
snowflakes but with me doing a lot of the work as the paper did not curl well
for them, being an inch wide, and it glued poorly due to the type of paper. I
quilled, curled, and glued while they arranged the quills into snowflakes. We
hung them from the dining room chandelier and admired our huge and quite
handsome snowflakes.
In 2015 I made several large snowflakes using 1/2"
wide paper quilling strips. I thought they were "giants" but not compared to
this 2016 project. I cut the strips left over from the Arno/Riley snowflake
project in half lengthwise, giving me 1/2" wide and 17" long pieces. The paper
I have used is Strathmore Charcoal paper and is 11" x 17". It is a lovely cream color with a
fairly heavy weight and texture to it. I used up the first pad of 50 pages and
started on a second pad. I hand cut the paper using a cutting mat,
straight edge, and snap knife. I cut several sheets at a time by using heavy
weights holding the paper down while I cut. No slippage if you use plenty of
weight. You will need to cut many strips as a single snowflake took as many
25-45 strips. I found my normal quilling glue (Elmer's) took longer to bond the
end of my quills than I was willing to wait. Karen Marie Klip's glue worked very
well for me. I am sure any thicker glue such as Aileen's Tacky glue will be
fine. The ivory snowflake I made was beautiful but I also wanted some
color on the snowflakes. I used a Sharpie permanent marker to color one edge of
the strips before coiling. If you are careful in the construction, your
snowflakes can be double-sided: ivory on one side and tinted on the other.
Most of the small photos below link to
larger ones, just click the photos.
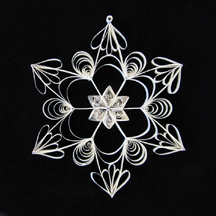 |
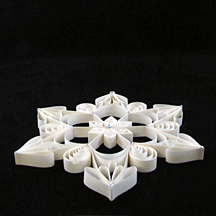
|
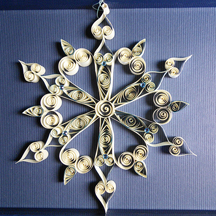
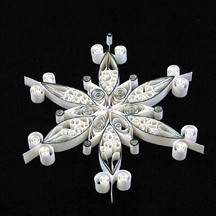
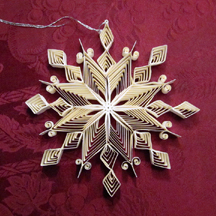
Just the plain ivory charcoal paper. |
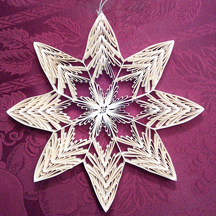 |
This snowflake was made mainly with a comb. |
|
|
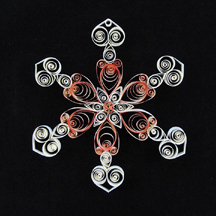
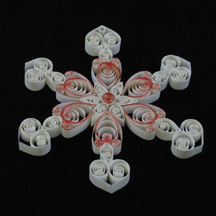
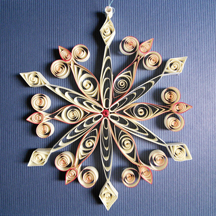
Most of the snowflakes have colored edges. I have added the color
with a Sharpie permanent marker to several strips BEFORE I coiled them. |
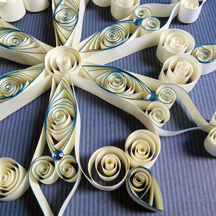 |
 |
|
At the very center is a narrow strip, colored and coiled into a loose
closed coil and glued on top. I like to cut my strips at least in half
lengthwise when putting a center coil on top of the snowflake or flower. |
 |
 |
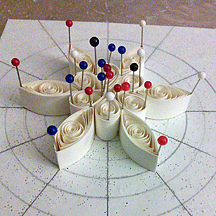 |
No matter how big or small, I use a polar grid to keep my spokes
straight. I slide the paper grid between my cardboard (or cork board)
and the wax paper which covers the cardboard. I also use lots of pins.
Glue coils side to side, not to the wax paper. |
You can find many polar grid generators. My favorite is by Incompetech.
https://incompetech.com/graphpaper/polar/ |
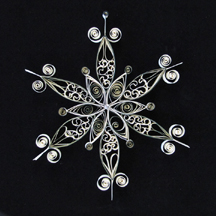 |
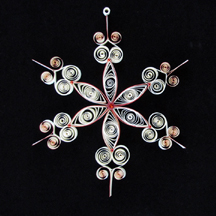
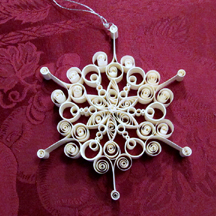
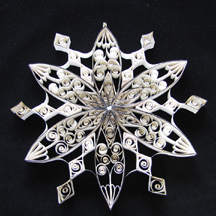
My black and cream snowflake uses loose coils such as the Marquise shape
in the center, scrolls such as the V-scrolls at the tips, and the
beehive technique and loops in the large eye-shaped rings. |
 |
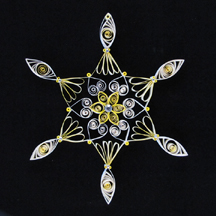 |
Hearts, loops, Marquise, and tight rolls are all easy to make and become
very fancy when assembled!
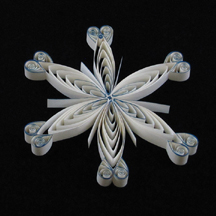
To the right I used husking or comb quilling, combined
with tear drops for a very quick snowflake tinged with a blue Sharpie. |
 |
 |
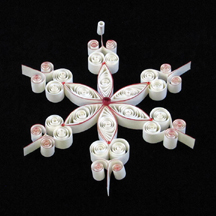 |
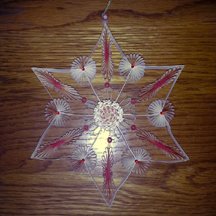
Tinted with red and decorated with a red rhinestone at the center of the
flake and tiny red rhinestones at the tips of the Marquise shapes. |
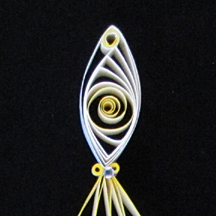 |
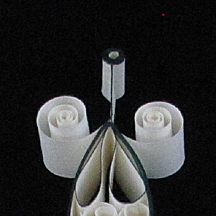
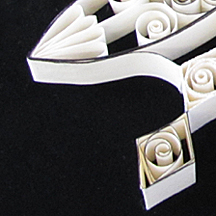
The snowflakes are fairly heavy. Be sure to add extra strength for the
hanger loop to pull against. To the left you can see a tight roll inside the
Marquise. The righthand picture shows a tight roll outside the snowflake but
I
added a short strip all the way around the roll and down onto the sides
of the V-scroll to secure the tight roll hanger. The roll won't pull off the
snowflake. |
 |
|
|
|
|
|
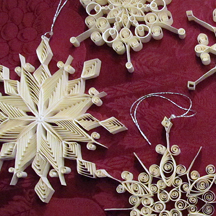
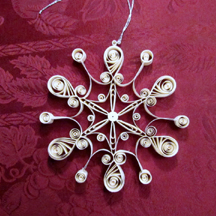
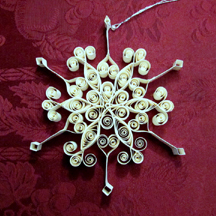
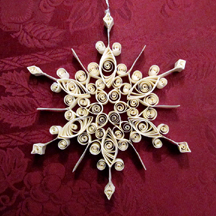
A set of giant ivory snowflakes
for my son Anders' family to hang in a window. |
 |
|
 |
 |
 |
 |
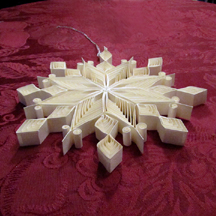
as intricate as this one looks, I only used 25 strips |
 |
|
|
|
|
|
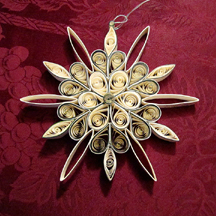
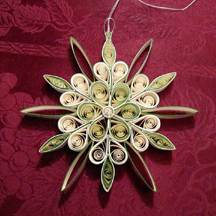
Arno asked for his very own giant snowflake. It is dark green on one
side and bright spring green on the other. It is only about 6" across
but contains 42 strips! |
 |
 |
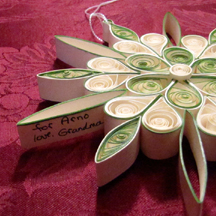 |
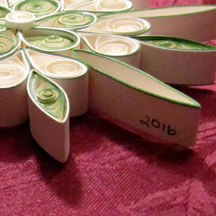
Make sure you sign and date! |
 |
|
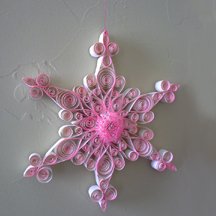
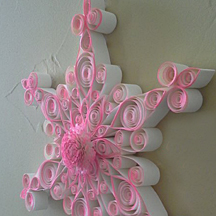
And this one is Riley's: |
 |
 |
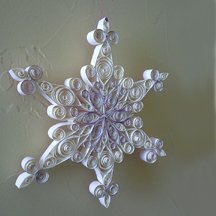 |
One side has been edged with a pink felt tip, the flip side with a
lavender one. The pink side has a fringed bon-bon center with the back
being adorned with little clear rhinestones. Just right for a little
girl! |
|
|
|
|
|
|
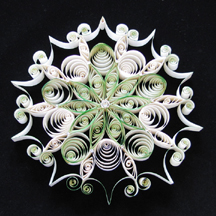
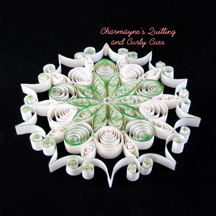
This "snowflake" is not a snowflake as it has 10 spokes. All snowflakes
in nature have 6. |
 |
 |
 |
a second snowflake hightlighted in black |
 |
 |
To the left and right are two of the 3 giant snowflakes I made for
friends. Making gifts? Add a window suction cup hanger and a storage
box. |
 |
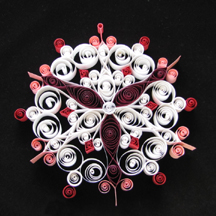 |
This snowflake was made using 1/2" wide commercial quilling strips. It
was an experiment for a class I thought I'd be teaching. 1/2" wide
strips are normally purchased in assortment packages so choosing colors
becomes a challenge when using so many strips. I decided hand cutting
strips was the way to go. The class was cancelled after I had cut
several hundred strips which is why I have so many very large
snowflakes! |
The 2016 giant snowflake project is complete. |


