These are so sweet!
These are little. My
"adventures" into 3-d quilling have started. I am quite frustrated. But
gradually I am learning the secrets. I feel like I am re-inventing the
wheel. I think I need a class! Help!
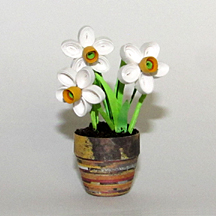
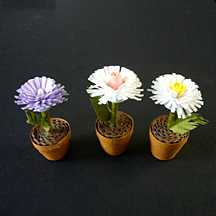
I have used 1/8 inch wide
strips, 2 per pot. After the first
several, Bob suggested a wire rather than a toothpick for a stem. This gives me
the ability to bend the flower's head. A little leaf completes each flower.
Most of the small photos below link to
larger ones, just click the photos.
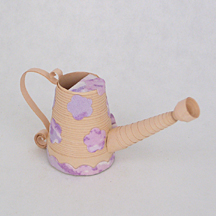
I used 1/8th strips and a bit of flower-print gift wrapping paper. |
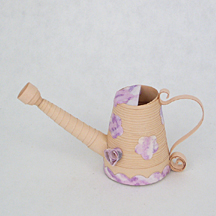
I added a tiny quilled heart and paper punch flower petals. |
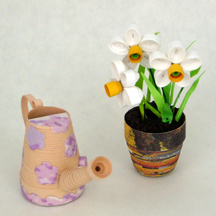
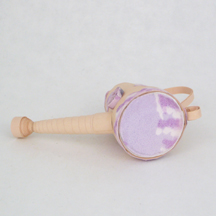
My watering can is just 2.8cm tall or about 1 1/8th inch. |
|
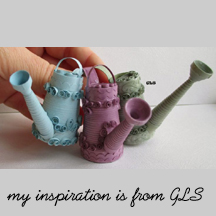
I saw a watering can a long time ago on the Internet. I never did
discover who actually made the beautiful little cans. Only the initials
of GLS are on the photo. Her cans are simply lovely, with lots of tiny
details. |
 |
 |
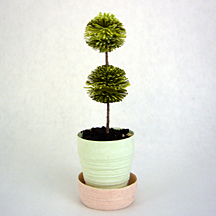 |
My topiary is actually quite large in relationship to my other flower
pots. They are more thimble size and this guy is approaching shot glass
size! When I stood him next to the tiny potted fringed flower
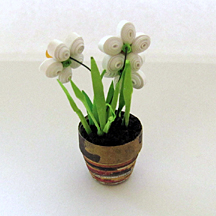
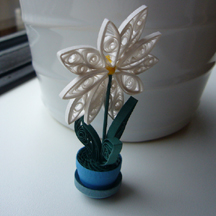
pictured below (white flower with yellow background), the top of the flower ALMOST reached
the TOP of this pot! The white fringed flower is overall 3.5 cm tall. My
topiary is 10.5 cm tall. Huge!
Waste not, want not. The green pot and
tray was my first attempt at a cupcake. Yes, you did read that
correctly! You can read what happened on my
cupcake project page. |
To make the topiary stable, Bob brought in some lead to put in the
inside of the pot. I glued it in place. The trunk of the topiary is a
paper clip, straightened out and covered with 1/8th wide brown paper.
Actually, the portion inside the pot still has the loop, which I covered
in paper to make the "dirt" stick to it better. The two balls are 4
fringed flowers. Each one has 2 colors of fringed strips rolled at the
same time. I had trouble getting the center strip line to disappear. I
finally made one half just a bit larger and pushed the second half
inside it. I also cut down the "un-fringed" side of the strip the entire
length of what became the outer half ball. I completely filled the pot
with coffee grounds mixed with PPA glue. The two white spots on the dirt
are tiny rocks. It stands nicely. |
|
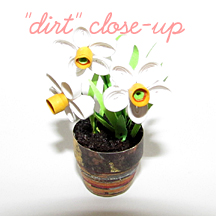
I got this idea from
for the "dirt" in my pot from the
blog of Ann Thompson. It is coffee grounds. Yep, actually used coffee grounds with some PPA
glue added in. I am not sure I'd give Riley a pot like this as I don't
know how durable the dirt is but for sitting on my window ledge, it
looks and works great. Thank you, Ann! |
 |
Update: Yep, OK for Riley and Gwen! I think I may add a few recycled tea
leaves to the coffee ground/glue mixture. I hope it will look like I
have added compost to my potting soil. |
 |
For this flower pot (I actually made two), I hand cut 1/4" wide strips
from a very distressed children's picture book. The book, The Golden Bunny, was beyond saving
yet many of the pages were usable for quilling strips. |
 |
 |
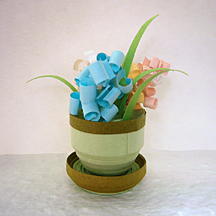 |
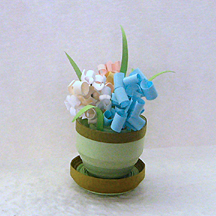
The Hyacinths were inspired by Tammy Yoyomax. She has several wonderful
youtube videos. If you click on this
link, a new
window will open and you, too, can make a tiny pot of Hyacinths. I
really like the base I put under the hyacinth pot. It adds a lot of stability for
Riley's little fingers. |
 |
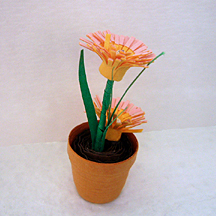 |
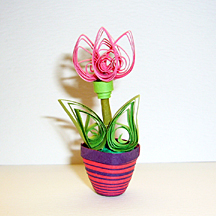
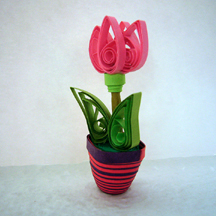
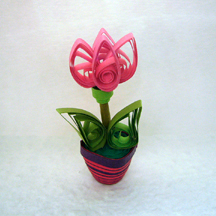
My granddaughter, Riley, has a doll house which needed flower pots for
the veranda - or wherever! I made her the tulip in it's purple and pink
pot. I shaped it before gluing it. Also made for the doll house are the
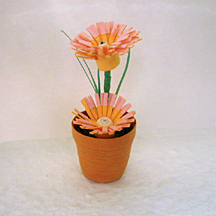
pink and yellow daisy and the pot of Hyacinths. |
 |
 |
 |
 |
 |
 |
|
While we were in Denmark this summer, we
spent some time in our holiday house on FanÝ due to some pretty rainy
days. No kite flying! I had brought my quilling and made several flower
pots. |
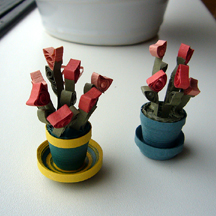
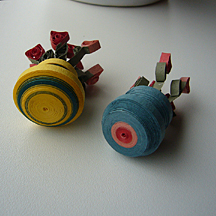
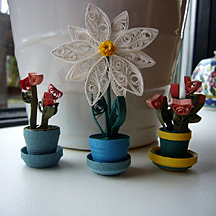
Above are the heart flowers in their colorful little pots. |
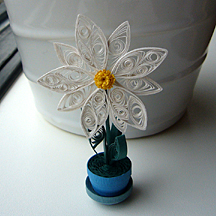
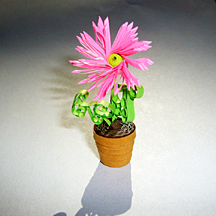
The row just below shows a daisy which got pretty big. But it stands
quite nicely. I used one of my pins for the flower center. It goes down
into the flower stem. It is
cheerful and happy. |
 |
 |
 |
 |
 |
 |
|
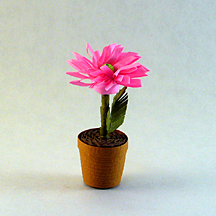
Beehive quilled leaves complete the double fringed flower |
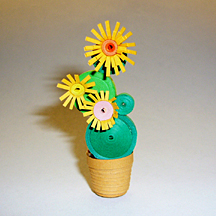
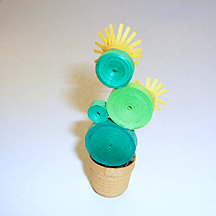
little cactus plant with gigantic flowers! |
...and the back. |
 |
 |
 |
|
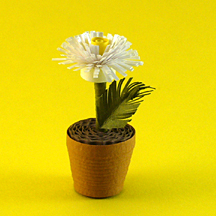
fringed leaf |
fringers used for flower and leaf |
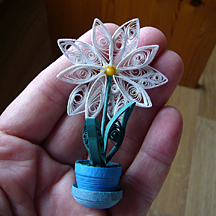
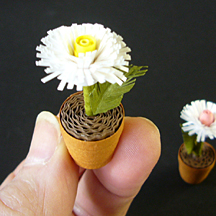
See how tiny? |
 |
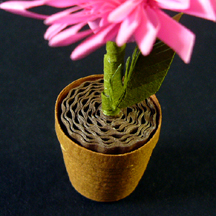
What
to use for dirt. It was a mystery until about 2:00 am one night. While
trying to put myself back to sleep I thought about this problem. Crimped
brown 1/8th inch paper was the solution. It also helps to hold up the
flower.
|
 |
|
first three pots |
|
close-up of my dirt |
| |
|
|


