2020 was the year of the
lantern project at Karen-Marie Klip, the quilling shop in Denmark. I started
seeing little round lanterns and then star lanterns. I jumped on board, using
what I had at home. Karen-Marie and Hanne filmed several excellent videos and
with some trial and error, I have made several lanterns, big and small, round
and star-shaped. Note to self: buy the kit, it will be easier.
Most of the small photos below link to
larger ones, just click the photos.
 |
 |
 |
|
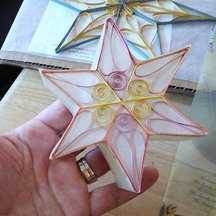
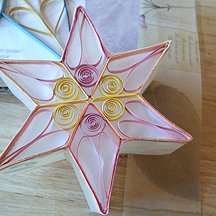
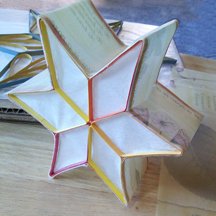
The small star above was my first attempt. This final product is
actually my 3rd attempt, after ripping off the outer band twice! |
The backing on my star is
kite weight Washi paper. Fine for the star backing but not the outer
band. My third attempt used (patterned) vellum, as directed
by Karen-Marie. |
I made the star with my smallest form. Way too
small for a beginning
lantern maker! It was very hard. I ended up not leaving an opening for
a light so it is a 3-D star, not a lantern. |
| |
|
|
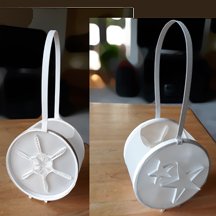 |
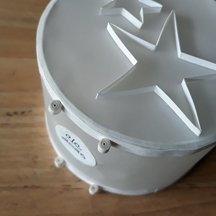
My next attempt was the small, round hanging lantern.
I added a
sticker with the year and my initials to the bottom.
It has little
feet in case it gets stood on a table rather than hung. |
 |
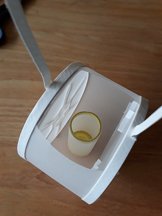 |
If you look inside the lantern, you will see a holder for the battery
operated LED light. Also you can see extra stars on the inside of the
lantern. I was hoping for an interesting shadow pattern but this did not work
well as the quilling strips are so thin.
|
I sent this
lantern to Arno and Riley after showing it to them while we Zoomed. I later made another one, shown below. |
|
|
|
|
|
My second round lantern: |
|
|
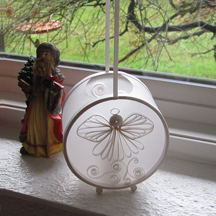
Angel on a cloud
(larger image shows back and front) |
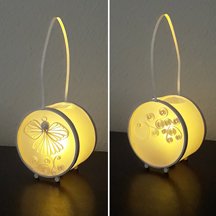
front and back lit from inside
using a LED battery operated light |
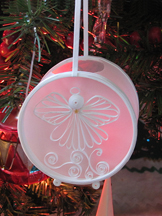
hanging on the Christmas tree in front of a red light |
|
|
|
|
|
My second small star lantern was more successful. I used white vellum
which I colored with blue chalk. I put the hole in the bottom for the
light to go up into.
|
 |
I sent it to Arno and Riley, too. I think I will make one for me
as it is so pretty. |
| |
|
|
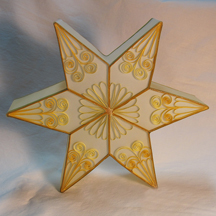
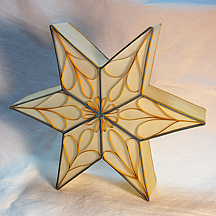
| On to bigger lanterns. I
decided a big lantern would be a Christmas gift for Bob's sister and
brother-in-law, Diane and Buzz. I chalked the Vellum with pale
yellow. These are about 10 inches across. |
 |
 |
| Bob suggested I put the
standard
battery operated candle light on a stand to get the light up higher. It
helped but not enough. He
did some searching for me and found much better lights. They are
LEDs |
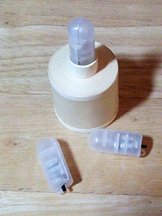 |
I put a ring on my vellum stand to hold the light. This worked well but
the lights just don't last long enough at full strength. He solved that
for me, too. But not in time for Diane's star this year. I had mailed
it. |
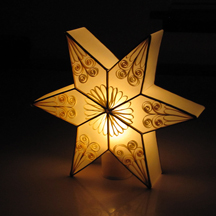 |
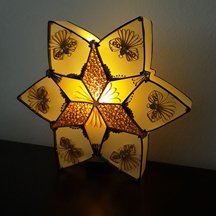
They are really lovely at night when lighted. |
|
| |
|
|
| Christmas is a busy time at
our house. I completely forgot to take pictures of my second big star
lantern, another gift. To the right is the front star, a progress photo.
|
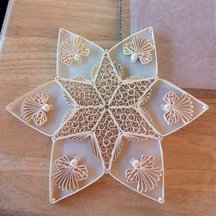 |
Little angels are at the tips of each point and the center star is
filled with beehive quills. The back was similar to Diane's star. |
| |
|
|
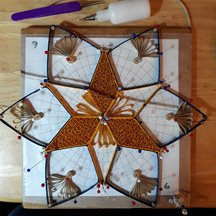
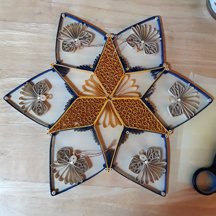
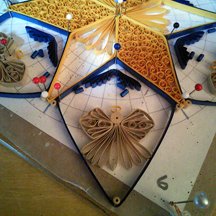
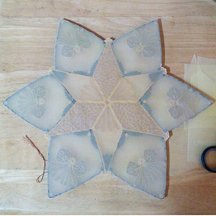
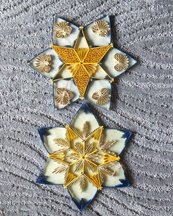
Next came my big lantern star. I
finished it between Christmas and New Year's Day. And I took progress
photos!
Tips: the halves must be identical. Use a grid for construction.
The string you see is for reference when constructing the lantern
itself. |
 |
 |
 |
 |
 |
 |
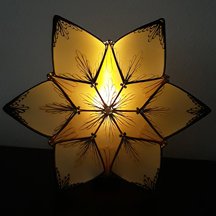 |
And Bob's new lighting system lets me put the lantern anywhere and the
light lasts evening after evening, bright and beautiful. |


