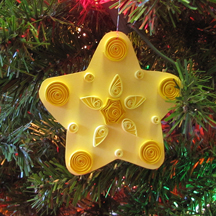
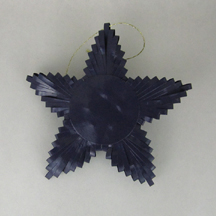
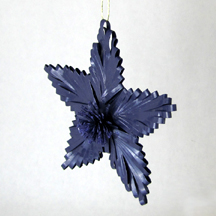
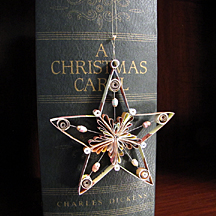
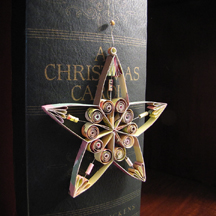
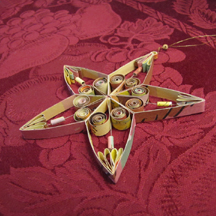
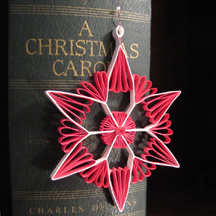
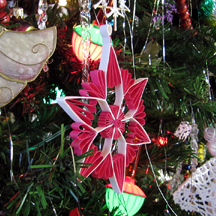
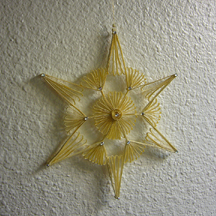
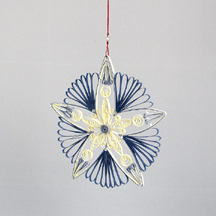
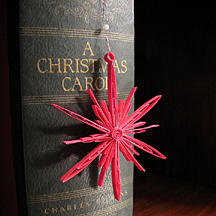
side one
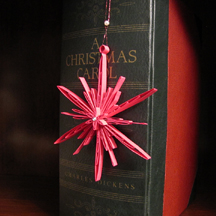
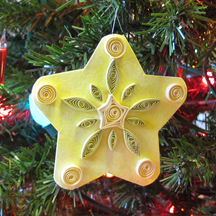
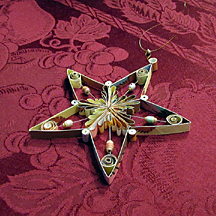
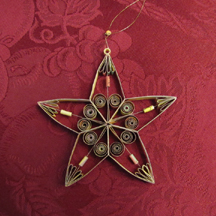
side two
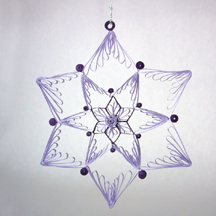
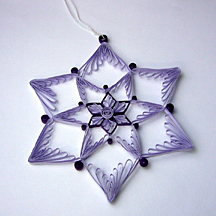
Hint: wrapping the star with another layer makes for a sharper shape. This one rounded out quite a bit, making it more flower-like. The star number is 20, Star of Flensborg.
|
Charmayne's Quilling and Curly Cues |
STARS
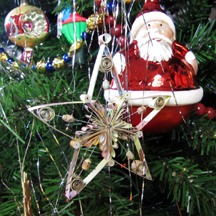
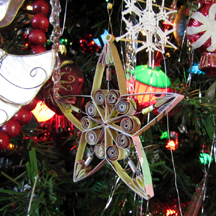
I found a Danish quiller in one of my online searches. Karen-Marie Fabricius is the director of Karen-Marie Klips. This is a paper crafting oasis in Denmark. Karen-Marie has lots of videos with enough information given to allow viewers to be successful at making her stars. It is more difficult without her book and/or system (kit) but a doable task given enough desire! These are my first attempts at making her stars, using her techniques. The small photos below link to larger ones, just click the photos. The page is ordered with my the first stars at the bottom, new stars at the top.
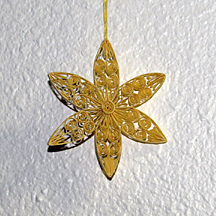
| Sønderborg stjernen (star), number 19 |
 |
|
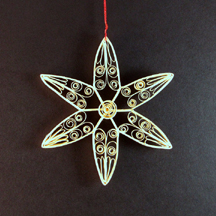
I have made stars
using Karen-Marie's system plus my own centers. The frame is all great! |
||
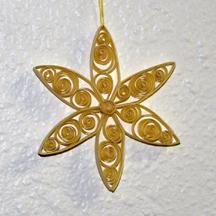 loose scrolls fill centers of this star |
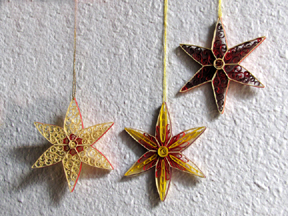 3 stars |
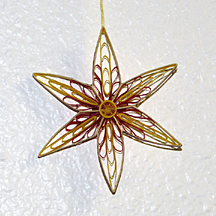 comb quilling can fill centers. too |
|
This star is Karen-Marie's Star 13 - The Star of Hvide Sande. |
You can watch
Karen-Marie's video for Star 13 on YouTube. Click here. |
|
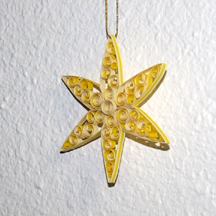 Bee hive quilling with 2 strips together. It was hard to get the strips into my tool. Now I have another slotted tool with a wider slot. |
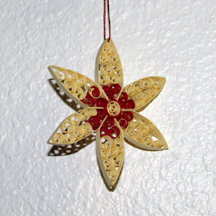 For these centers, I glued a red strip to the cream strip before starting my bee hive curling. |
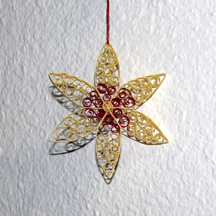 ...and the reverse side of the star to the left... I have cut the center coil strip in half lengthwise. It gives a lower profile. |
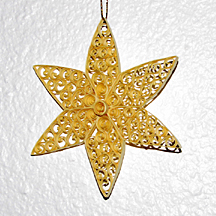 the Star of Hvide Sande |
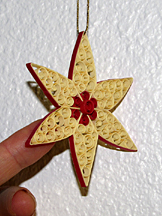 you can see these are small in size |
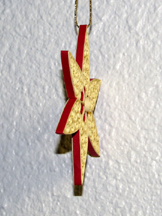 side wrapped with a narrower strip |
| First attempts: | ||
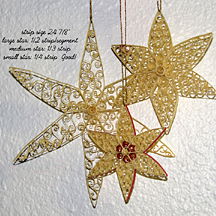 Not having Karen Marie's quilling system (yet!), it took me several tries to get a size and shape I was happy with. My large star in the photo does not have the correct dimension for the bending point, making the star ungainly looking. I finished it as I was also practicing a new technique for me... bee hive quilling. Bee hive curls are nice for filling in large areas very quickly with random curly cues. After taking the picture to show the importance of the bending point, I threw the large star away. That is a good thing with this craft. Mistakes are cheap to get rid of! |
 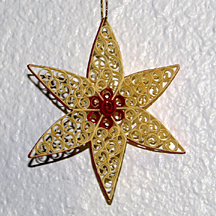 front and reverse I like cutting the strip for the center in half before curling it. 1/16th inch wide centers on the star looks nicer as they lay close to the surface. |
 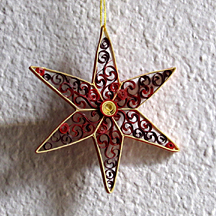 front and reverse This star has the wider center coil. It is not as nice as the star to the left. It sticks out too much when left at 1/8". |