Easter eggs, bunnies, chickens, baskets. Fun
seasonal projects that take up big time to create.
Most of the small photos below link to
larger ones, just click the photos.
|
2023 Ms. Rabbit |
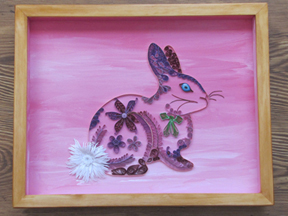 |
For details, see my framed pictures. |
|
|
|
|
|
Easter Eggs 2021 |
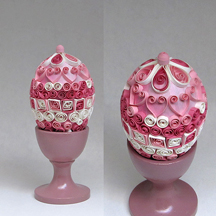
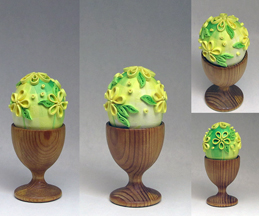
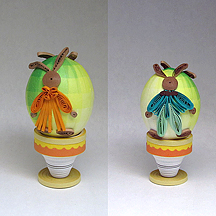
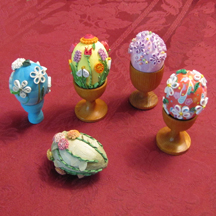
This was a year for lots more eggs. I made a dozen or more, trying to
figure out the easiest way to cover eggs with paper. Here are the five
eggs which I sent to the grandchildren: |
|
 |
 |
 |
 |
 |
I like using real eggs. I blow them out and rinse the inside well. The
paper mache ones are ok but the paper must be thick enough to not let
the brown color show through. Warning: I have not tried to drop a
paper-covered real egg to see how durable it is. |
|
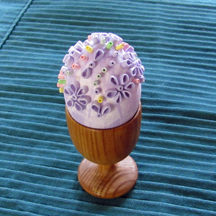
More of the eggs I made in 2021: |
 |
 |
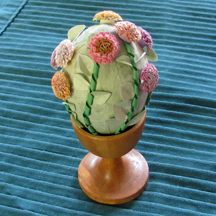 |
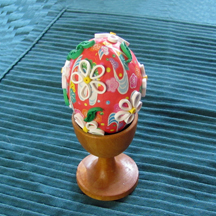
Some I covered in Washi paper. I have also used Origami paper and thin
gift wrap. Satin
ribbon works but makes a thick top and bottom. (see my pink satin egg
below) |
 |
 |
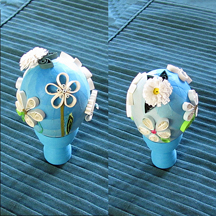 |
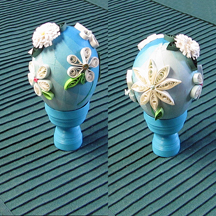
This blue egg was covered in Origami paper and several different
flowers. |
|
|
|
|
|
Easter 2020 |
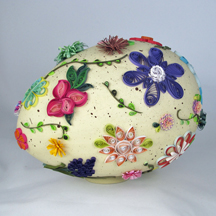
my giant egg project~~~
click on the photo for a look at this project |
 |
|
Other than my giant egg, I made just 3 new eggs ins 2020. One before
Easter and two late in the year. |
The two later eggs were trials using thin paper to cover paper mache
eggs. |
|
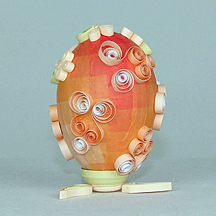
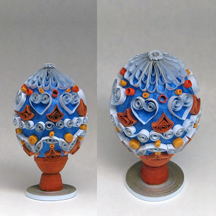
a paper mache egg covered in Origami paper |
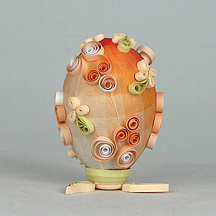
the stand is an upside down dome with 3 feet for stability |
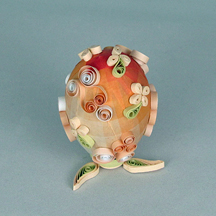
S-scrolls, shaped Marquise quills, tight rolls and loose coils |
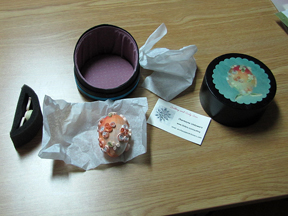 |
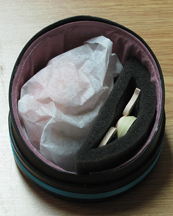
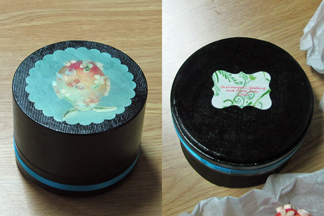
I sent the egg in the photos above to a friend in Minnesota. Question:
How do I get it there safely? Answer: Recycle a jewelry store
watch box. |
 |
|
|
 |
|
|
|
|
|
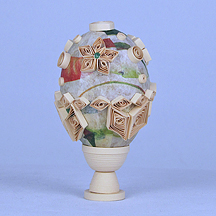
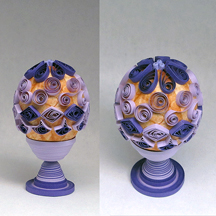
a paper mache egg covered in thin gift wrap paper
|
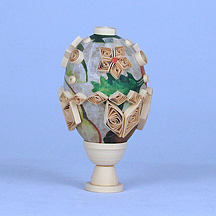
the stand is two domes and a tight coil base |
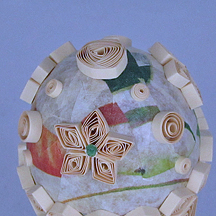
top coil is a vortex and other shapes include diamonds and tight rolls |
|
|
|
|
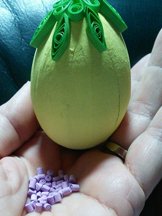
a painted paper mache egg (bottom) |
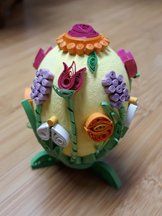
springtime flowers adorn the egg |
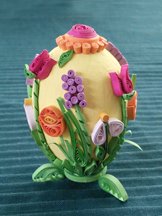
another view |
|
|
|
|
|
Eastertime finds eggs all over the living room. Origami eggs, quilled
eggs, Ukranian eggs, dyed eggs made by my sons as gradeschoolers, even
some dyed using silk ties. This
is one display. |
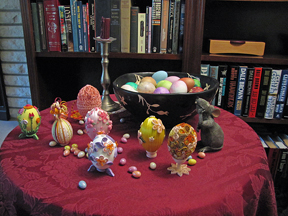 |
(2020 is the Chinese Year of the Rat. That is why the plastic rat
admiring the eggs!) |
|
|
|
|
|
Easter 2018 |
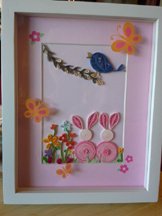 |
This photo frame has painted butterflies and the little pink flowers on
the glass. I added the blue bird singing on a branch, the bunnies and
some tiny flowers. Happy Spring! |
|
|
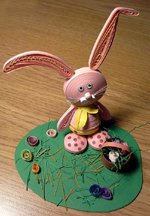 |
A bunny! |
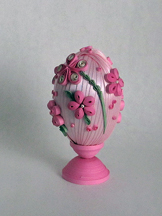
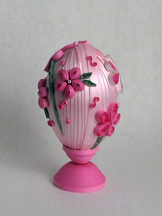
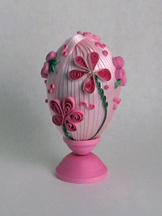
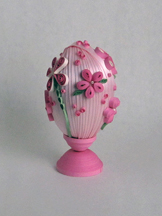
I made 2 ribbon covered quilled eggs.
One pink, one yellow.
My
only issue with this was the bulk of the ribbon at the ends of the eggs. |
Here is the pink one... around the whole egg. |
 |
 |
 |
 |
|
|
|
|
|
Easter 2017 |
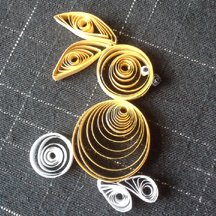 |
|
Easter 2016
Foot NOT in a cast and only 2 projects done. I love
walking!!!
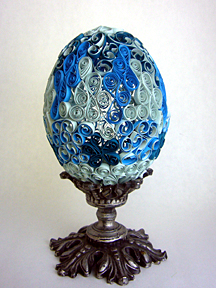
The blue egg is hollow, done in two parts and later joined
together.
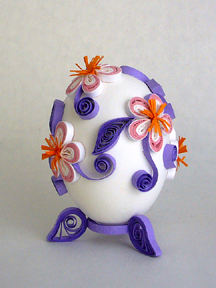
The second egg has quilled flowers glued to a real chicken
egg. Blow them out, rinse internally and let them dry completely. They
are very strong. |
 |
 |
|
Easter 2015 projects were more numerous than I would have guessed. My
foot was in a cast and quilling certainly passed away a lot of hours! |
|
|
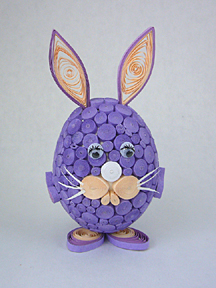
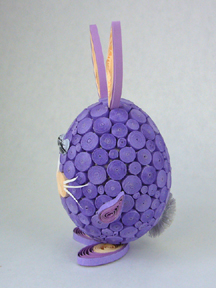
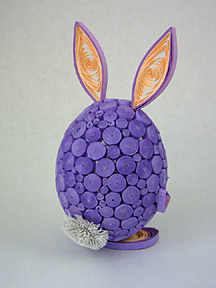
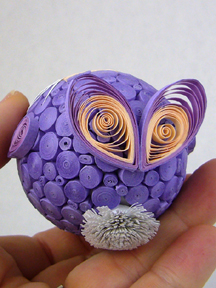
My first project was the purple egg- bunny. The egg-bunny is not my
original idea. There are quite a few different egg bunnies and chickens
on the Internet. Some are made by Danuta, a quiller from Naleczow,
Poland. |
I saw a reference to finger
quilling and no hole centers, Googled it and gave finger quilling a try after
watching a video (look on my links page). Well, after a million tight coils, I had a very sore
index finger and the ability to usually
get a tight coil without the center hole when I want one. I also ended
up with a super cute Easter Egg bunny. The
egg-bunny actually has 239 tight coils of varying sizes using 1/3, 1/4,
1/6, 1/8, 1/12, 1/18, 1/24, 1/32 strip lengths. The full strip length is
24" long. |
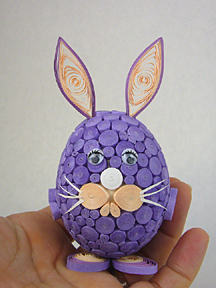
There is a blown-out egg as the base. Next time I dye the egg
first. You can see his size above. The ears are pretty secure as each Marquis open coil has a
"tail" on it which I glued to the egg.
|
 |
 |
 |
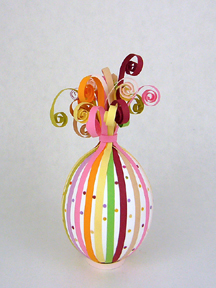
|
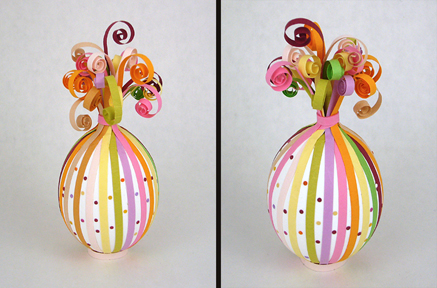
The fire cracker Easter egg is from Elena Evstigneeva.
I did
not try to be exact in positioning my stripes, used lots of them and
curled the tops. The tiny dots are what is made with Bob's hole screw.
They are just 1.5mm. Sweet! |
 |
|
 |
 |
|
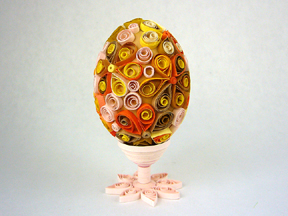
Above is another quilled egg. The photo above links to a composite
picture showing several sides of it. |
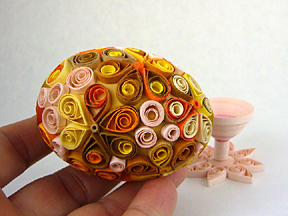
I used a blown-out brown chicken egg. The quilling adds a great deal of
sturdiness to the egg shell. |
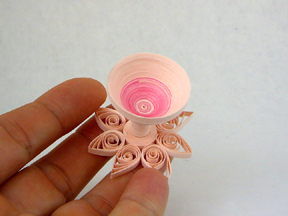
My little stand for the egg. I used the same pale pink paper which is
in-between the flowers. |
| |
|
|
 |
 |
 |
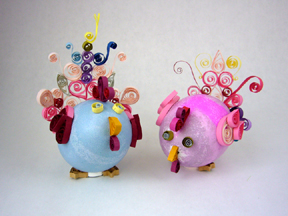 |
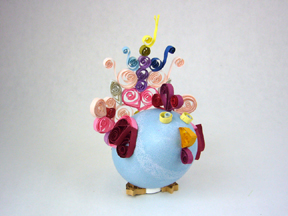
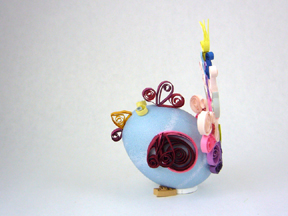
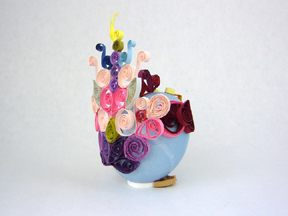
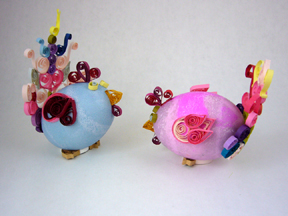
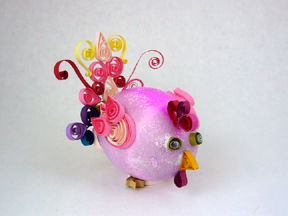
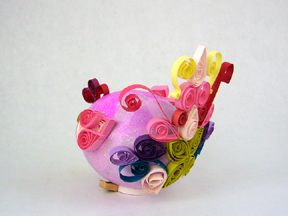
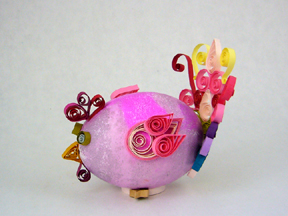
I saw a photo of these funny chickens on-line* which are quilled with an empty
chicken egg as the body. I had experimented with tissue paper and
vinegar to dye the eggs as blown-out eggs are tricky to submerge without
making a gloriously colored mess. OK, I still had colored fingers! These
ladies are very fancy and funny. I thought my aunt would love to have
one. Me, too! |
 |
 |
 |
 |
| *Footnote to these
chickens... this morning I saw a YouTube video about Angels and
discovered 3 videos for the chickens! |
I think I will be making more funny chickens next year!
The name of
the channel is Kativilaga. |
Here is a link to one of the 3 videos:
Kativilaga
Be sure to watch them all. I will add a link to her
videos on my links page, too. |
| |
|
|
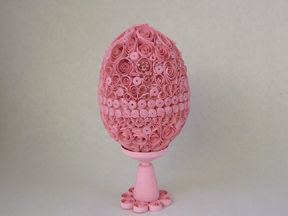
| My hollow egg container is
all pink. It did not seem as difficult as last year's hollow egg (below)
since I have definitely learned patience, thanks to my cast and 6 -8
weeks of nothing but lots of time. |
 |
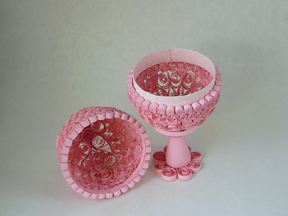
Open the container and you can see my "secret" to getting the top and
bottom to stay together. After removing each finished half, I add a
narrow strip to the inside of the top, and a wider strip to the inside
of the bottom. |
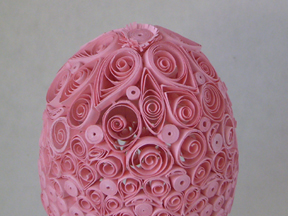
I even hand fringed the flower center! I just
wanted a bit of short fringe around the center. |
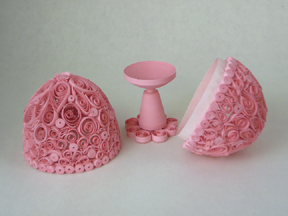
Plus a little stand for the container. I think of this as my bird bath
stand. Easy to make and quite steady, too. |
|
| |
|
|
| Below is my Easter Quilling
done in 2014 |
|
|
| After making the
quilled hollow egg, I thought I'd try a basket. Not for the quilled egg
as it is pretty large,
but perhaps one of my colored blown-out Easter eggs. I found a tutorial
on-line and started in. It turned out to be just 6 cm across! And quite
symetrical, too, so I am pleased. The egg is a tiny wood one as my
basket is too small for a normal sized chicken egg. |
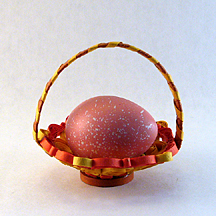 |
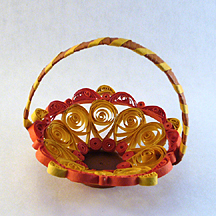 |
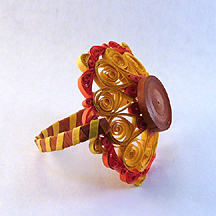 |
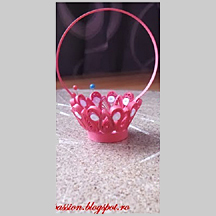
Thank you to Laura Mavrodin's tutorial at "Quilling my passion"
blog. Although my basket is quite different, I based mine on her
dimensions and directions. A photo of her little pink basket is to the
right... |
 |
| Easter time means
eggs, right? There are hundreds (at least) of beautiful quilled eggs to
see on the Internet. Now there is also my first attempt. I used a LARGE
child's plastic 2-part egg as my base as I wanted to get the egg out from
underneath my quilling. This was the difficult way. I should have
used a styrofoam egg. My problem was keeping the
quilling in place. I could not pin the petals in place. I ended up with
the bottom flower slightly off-center and spent
many extra hours working on it. I am still re-inventing the wheel! |
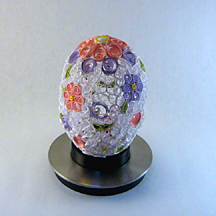
It is about 9 cm tall and sturdy
enough for my (nearly) 4-year old granddaughter to hold. |
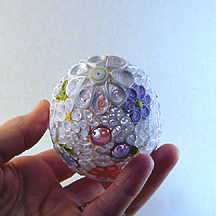
Altogether I am happy with it as
a first attempt. This photo is of the bottom of my egg. |


