|
Charmayne's Quilling
and Curly Cues |
The Heart Tree Mosaic
Early in 2017 Erin Curet,
Little Circles.net, offered a
tutorial for a new mosaic she calls "BE STILL MY HEART". It was a design I
really liked and I decided to order the tutorial and paper kit. After
downloading the tutorial and reading it through several times, I asked Bob to
cut out two 11 X 14" pieces of hardboard. I planned on doing two.
My first
challenge and one I actually failed at, was to draw out the 8 X 10" work area on
the hardboard. One is bigger than the other. Sigh. There is a reason Bob drafts
all our kite patterns. Not a big problem though and I actually did not even
realize it until much later. Matting took care of the mistake. As soon as I realized I was going to have to paint
the work area I panicked. Me, paint a background? Not in my reality was this
possible. After several DAYS I calmed down enough to go searching for help
within Erin's tutorials and between her "paint a background, it is not hard"
tutorial and me figuring out this was a mosaic and every bit of my painting
would be covered, I plunged in and discovered this was something I COULD do.
Next stage of panic came with the next step. "Draw your tree." Anyone who knows
me, knows I can draw stick figures, maybe. A swirly, stylish tree? More panic.
Now I am really outside my comfort zone. But I had paper strips on the way, a money
investment. This had to happen. Using a sheet of 8.5 X 11" printer paper, a pencil, and several
erasers, I managed to draw my tree. I wanted the two mosaics to be different. I
spent all afternoon but got my trees on paper. Since the directions said to draw
the tree on the painted backer board, I photocopied the trees and cut the copies
out, laid the trees onto the boards, taped them in place and traced around them.
Yea! My trees were ready to paint. I decided to use antique gold paint rather
than the permanent marker Erin suggested.
Putting the now-ready boards aside, I went back
to work on Arden's Beetle project
with my new knowledge of making mosaics. By the time my paper arrived, Arden's
Beetle was done and I was ready for the next step in the heart tree project. I
had some time to think about this project, time to see progress pictures on
Facebook from other quillers working on the same project. I decided I wanted to
personalize my trees and so added a little heart at the bottom and another one up
higher to go with the heart to be pixelated. I wanted the pixelated heart to
have initials carved into it. I wanted little hearts representing my
grandchildren. And remember how I said I ordered paper and had Bob cut out two
boards? I had ordered ONE kit only so I needed to figure out if I could stretch
the paper. Adding a new color to the orbs should work. I had some 1/4" pink and green
Little Circles strips. They should work. And I had an extra package of the "White on Rice". I
wanted to work on both mosaics at once, worried I would not get to the second
one if I did them one at a time and I have discovered making two of anything at
once, be it meals or kites, cut the combined time by a big margin. Should work
for quilling also was my thought.
I read the tutorial again and started laying down the On
Edge strips. I got pretty good at this by the time I had finished the second
tree and branches. My first
strip was pretty hard and had a learning curve. Be gentle when you condition the
strip. Erin said little cracks won't show but I had big creases in my first
strip and I figured they might show. GENTLY draw the strip several times over a
dowel or in my case, my needle tool. It has a nice sized barrel and did not harm
the strips. In my first attempt I used the needle itself. Not a good idea. I got
my trees filled in with long, loose, very skinny coils from the matching Culture
Pop strips. I tried to get my
branches to look like they were growing out of the tree trunk. I needed the
extra package of "White on Rice" to finish the second tree.
Below you will find my progress pictures with
explanations of what I did and changes I made from the Quill-Along tutorial. I
would love to host your finished mosaic here, too. Scroll down to the bottom to
see Erin's mosaic and the two I did. There is room for yours! Please
send me a photo and your permission
to include it below.
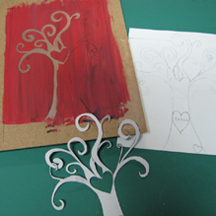
The
background is painted. My tree is drawn, positioned, traced with pencil.
It is partially painted with antique gold paint. |
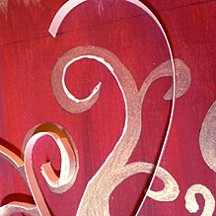
This picture shows some strips glued in place and a line of glue for the
next strip. I let the glue tack up a bit as Erin suggested and did not
worry too much about small amounts of excess glue as it won't show in
the completed mosaic. |
|
|
|
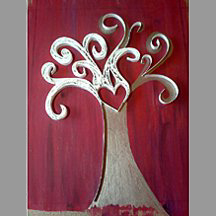
Side one of the on-edge outline strips are finished and the fill-in is progressing.
You finish the branch and trunk with another On-Edge strip. That
will smooth off the second side after allowing easy access to the space to
fill with quilling. |
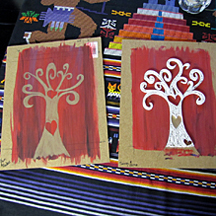
One tree done and the second mosaic ready for edging and quilling
fill-in. |
|
|
|
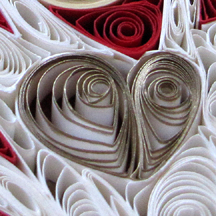
This is a close-up of my top heart. I edged the white paper strips with
the antique gold paint using a sponge. |
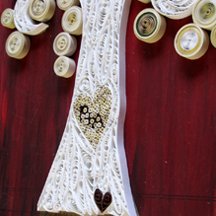 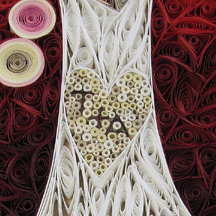
This photo shows the pixelated hearts with the initials for Pam and
Anders and Tanya and Arno. One heart contains 95 tight rolls, the other
99. Yes, I could not believe it either! The initials are the On Edge
strips, colored with a brown Sharpie. You can see the little red heart at the base
of one tree as well. |
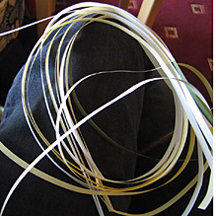
I glued my strips together for the orbs. It was a pile of spaghetti!
Because I was making two mosaics and potentially being short of strips,
I wanted to know where I stood before starting. |
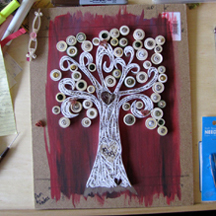 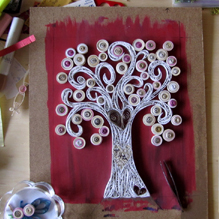
The trees are now complete with their leaves or orbs. In the large
pictures you can see I used green in one set and pink in the second set. |
|
|
|
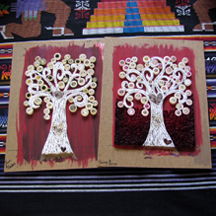
Here you can see I have started to fill in the background of the tree on
the right. You combine two strips to blend colors. A very cool technique
which is amazing. I was skeptical mine would look right but no worries. It
works! Some shapes are one color and then you transition to the next
color with a 2 step process of mixing strips before again using one
color. The background is simply loose closed coils shaped to fill in the
entire area. It was really enjoyable. |
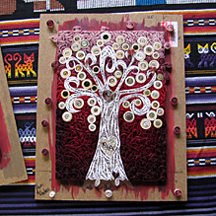
Pam's and Anders' tree is now complete ready for matting and framing,
too. I glued down some scattered coils to level out the edges which will support the mat.
By the way, I ran out of background paper and ordered more 2 more
packages to finish. I decided for this second picture I wanted a lighter
pink at the very top. One package would have been plenty but with the
6th color, I needed 2 packages to transition properly. |
|
|
|
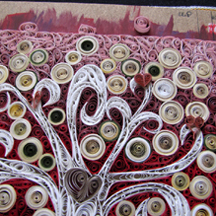
Yes, I am a grandmother. I have 5 little heart throbs I call
grandchildren. Here you can see 3 little hearts. Each is a 1/8th" strip
cut in half lengthwise. The three little hearts are all different from
each other just as Arden, Gweneth, and Rhys are each unique little people.
The hearts rest on top of the mosaic. |
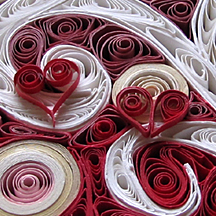
And these are Arno's and Riley's hearts.
Again, skinny strips and their hearts are different one from the other.
They are glued on top of the mosaic. |
|
|
|
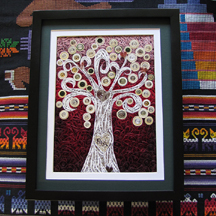
Done!
Bob made the frames for me and we cut the mats and glass to fit. |
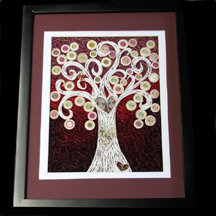
Done! |
|
|
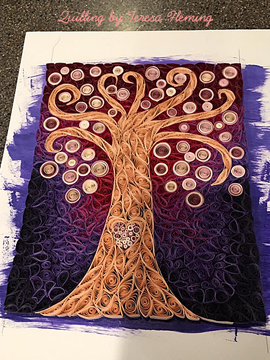
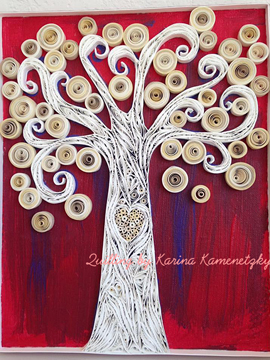
So many quillers and an equal number of
interpretations of Erin's "Be Still My Heart" mosaic. Below you will find hers,
mine, and others, too. If you did this mosaic, I would love to add yours. Thank
you Erin for another wonderful project. All photos used by permission.
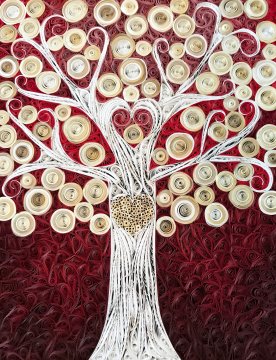
Erin's original concept, Be Still My Heart
Quilled Mosaic. Photo used
by permission. |
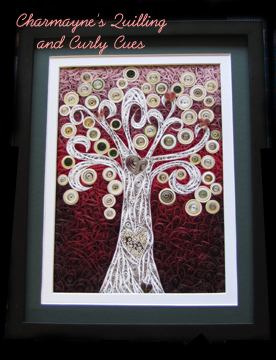
Anders' and Pam's Heart Tree Mosaic
by
Charmayne Umbowers |
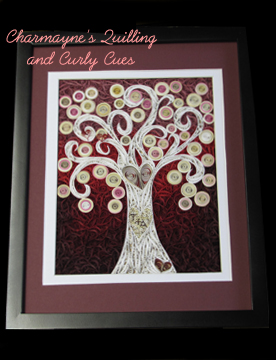
Arno's and Tanya's Heart Tree Mosaic
by
Charmayne Umbowers |
| |
|
|
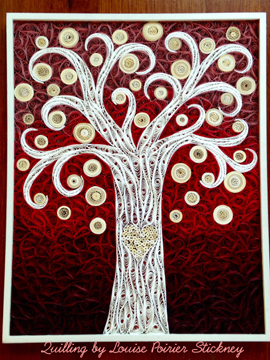
Louise Poirier Stickney |
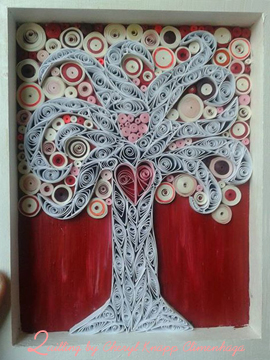
Cheryl Knapp Climenhaga
|
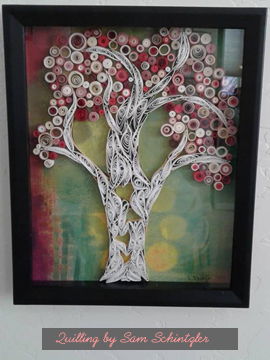
Sam Schintzler |
|
|
|
|
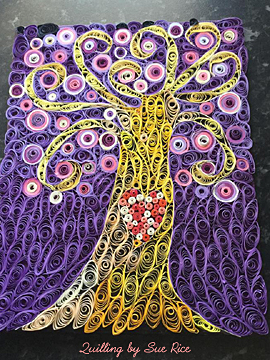
Sue Rice |
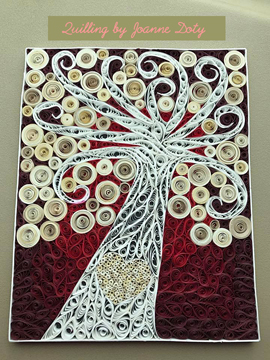
Joanne Doty |
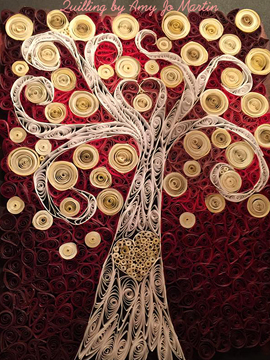
Amy Jo Martin |
|
|
|
|
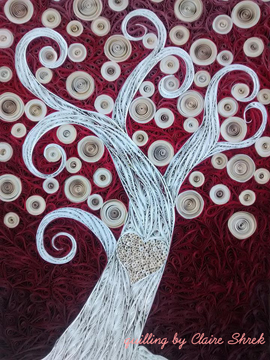
Claire Shrek |
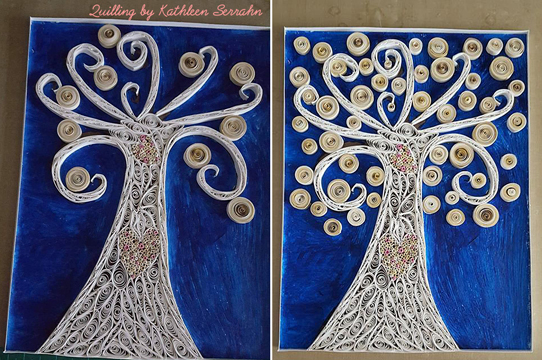
Kathleen Serrahn progress pics |
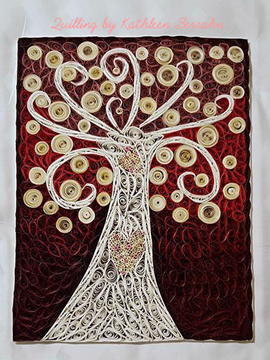
Kathleen Serrahn |
|
|
|
|
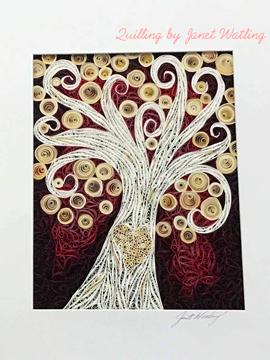
Janet Watling
|
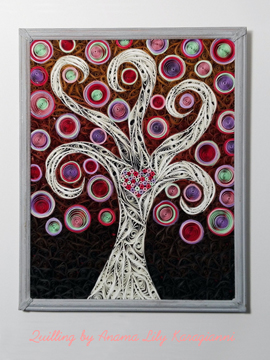
Anama Lily Karagianni
To see close-ups of
Anama Lily's mosaic,
look here on her
website. |
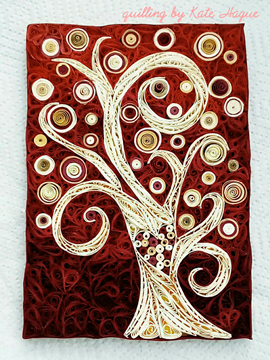
Kate Hague
|
|
|
|
|
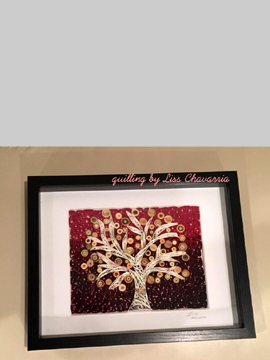
Liss Chavarria
~~note how Liss turned her
mosaic to be wide~~ Nice!
|
Teresa Fleming |
Karina Kamenetzky |
Back to Charmayne's Quilling
home page


