Thanks to all the books, bloggers and
Internet-posted pictures for inspiration for the earrings and pendants I have
enjoyed making. My life would be diminished without you!
Do I coat the earrings I make for myself? No. Do I coat
the earrings I make from friends? No.
Exception: I coat the back disc of post earrings
with nail polish.
|
2019 |
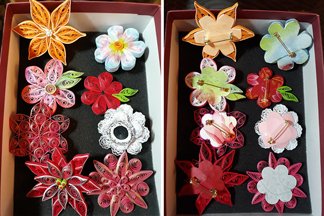 |
I worked on the idea of a 2020 convention class with these brooches. I ended
up not offering it but I now have 8 new flower pins I can wear. Below
are closer looks at a few. And if you click on the picture to the left,
you will see a larger view of the group, front and back. |
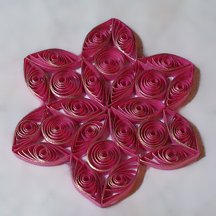 |
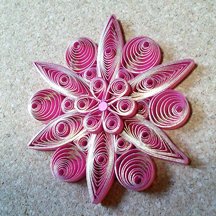
These two, plus the Poinsettia pin, were made with gilded paper. |
 |
|
This picture shows the front and back of a pin. I used 1/4" white
printer paper. I chalked the quills. |
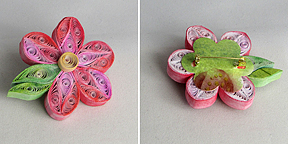 |
To support the quills as well as ensure the pin back is secure, I glued
card stock on the bacs. Note the second leaf has a piece of card stock
glued to it, too. The quill was less sturdy than I wanted it to be. |
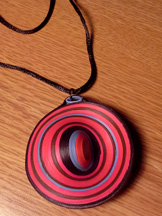 |
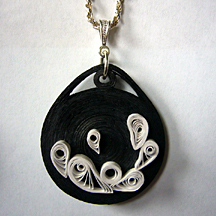
The pendant to the left is a shaped tight roll. It is about 2.5 inches
across. The back is sealed for stability. |
|
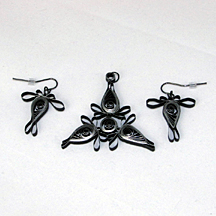 |
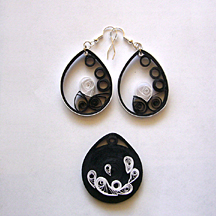
The earring and necklace set to the left I made for the NAQGCON 2019 competition. The loops
were made on a comb, turned backwards and then filled with a tear drop.
I used silver-edged black 1/8th inch paper. |
|
|
|
|
|
|
In 2018 I made a lot of pieces of jewelry. Sets, pendants, earrings and
even a watch face. |
|
|
 |
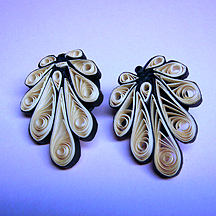 |
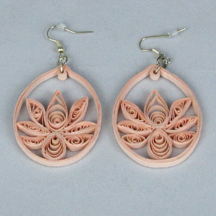
These post earrings start with the Alternate Side Looping technique.
Each loop is filled with teardrop. |
|
|
|
|
 |
Gail gave me a watch, designed to fill with narrow strip quilling. |
|
|
|
|
|
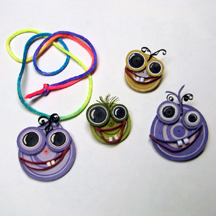
Crazy monster jewelry!!!!
I ran across some fun quilled faces several
years ago on a blog called La Lio Parda. Link:
http://lalio-parda.blogspot.com/2015/04/quilling.html
Update: The link is no longer public. But
thank you for the inspiration!
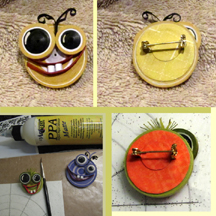
The
base is just a solid roll. Spread glue all over the back and let dry.
Add a big smile, crazy eyes and teeth, add some hair. You end up with
crazy monster faces. Next, add a sturdy loop for a necklace chain or
ribbon or cord. Use a well-secured pin clasp for a "beautiful brooch".
Or turn them into refrigerator magnets with self-adhesive sheet magnets.
Coat with PPA if desired. |
 |
 |
|
|
|
|
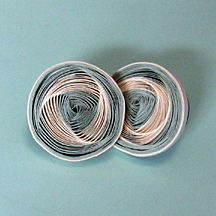 |
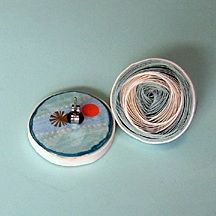
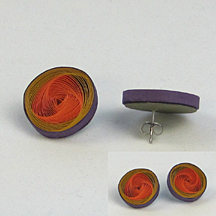
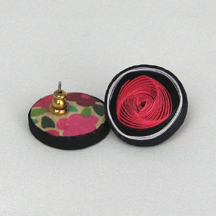
Post earrings. You can make them stable, durable, strong!!! The backing is a 3-layer thick stack of cardstock with
the earring post sandwiched between two of the layers. It is very strong. I make the backing
before gluing it to the quilling. In the case of the vortex coils, I
glue one layer to the coil to stabilize the vortex. Then when it is dry,
glue the other 2 layers (with the post in-between them) to it. I cover the outside layer of cardstock
with fingernail polish to protect it.
These three sets of earrings are vortex
coils.
I made probably a dozen sets getting ready for my class
at NAQGCON 2018. |
 |
 |
 |
|
|
|
|
|
|
2017 |
|
|
|
Ann Martin's new book arrived!
It's title is THE ART OF QUILLING PAPER JEWELRY. I made these sets of jewelry, based on Ann's
Shooting Star Earrings, page 42, and the Celestial Flower Pendant, page
46. Grandson Arno had asked me to make earrings for his mother. (Hey, my
first commission!) and I also sent a set to Pam for Christmas. I made the sets similar but
the tops are a bit different. |
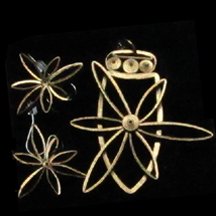
Pam's necklace and earrings. |
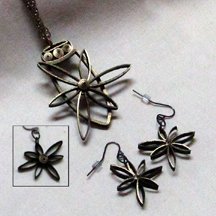
I added a loose closed coil to the center of the starburst on the back
to stabilize the joint on each earring. |
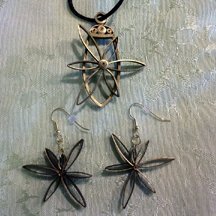
Tanya's set. |
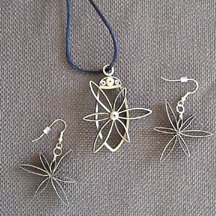
Gilded paper is amazing! That shine! |
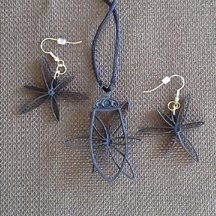
And the back. |
|
|
|
|
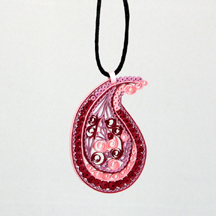 |
A paisley pendant for the 2016 NAQGCON. |
 |
 |
 |
 |
|
|
 |
 |
 |
 |
 |
 |
 |
 |
 |
 |
 |
|
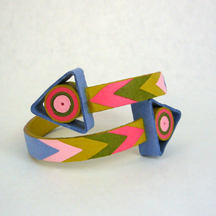
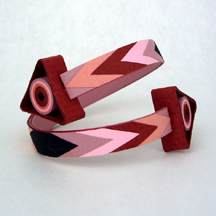
This is another design concept by Erin Curet, Little Circles.net. I have
made 2 of her bracelets and here are my
comments and suggestions. That page will also show you more photos
and how I changed mine. |
 |
 |
 |
 |
|
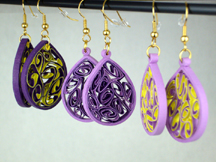 |
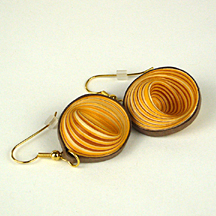
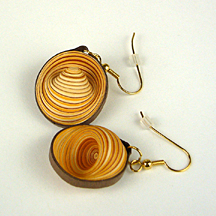
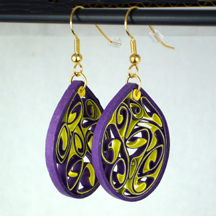
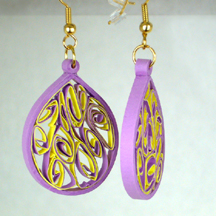
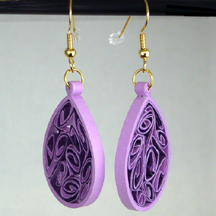
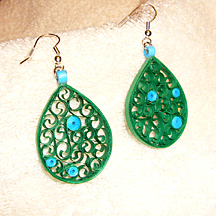
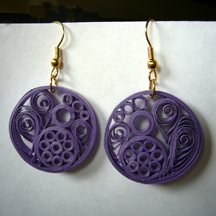
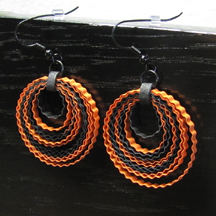
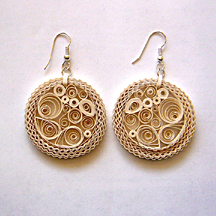
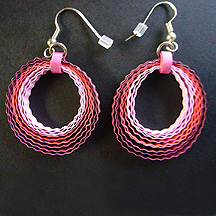
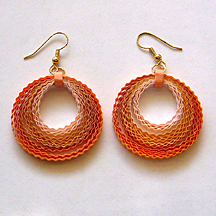
These 3 pair of earrings were more practice in making the outer
rings plus squishing beehive quilling which I saw on a YouTube video by
Kativilaga. |
|
 |
 |
 |
|
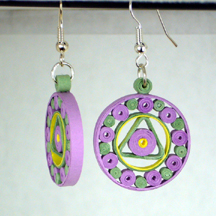
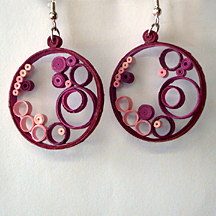
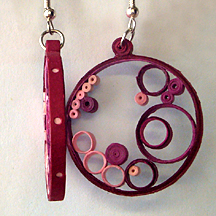
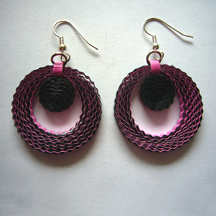
The earrings to the right are nothing but circles! I used both tight
coils and ring coils for this pair of fushia and light pink earrings.
Note the outer band. Bob found a wonderful little tool called a Japanese
book tool at a kite workshop we go to. It cuts perfect little circles
with just a push. This is not a paper punch but a hand held screw punch.
His research came up with ones for a few dollars up to a hundred. Ours
came from eBay for about $18.00 and has several tips. Works for him.
Works for me. My holes on the outer band are just 1.5mm. I also use it
to punch out eyes and pupil dots. |
 |
 |
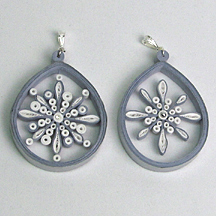 |
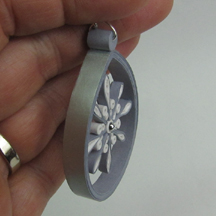
The design concept to the left is by Erin Curet, Little Circles. I saw her
"Suspended Snowflake Earrings" on a YouTube video and I decided to give
it a try. The finished product is large so I made mine into pendants.
And did not make them identical. Click on this link for more
information and photos. |
 |
 |
 |
 |
 |
 |
 |
 |
 |
 |
 |
 |
 |
 |
 |
 |


