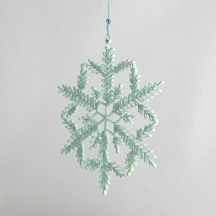
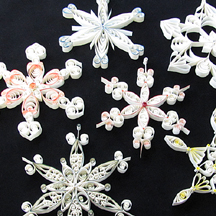
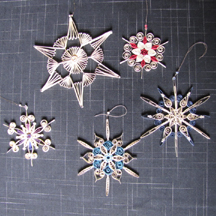
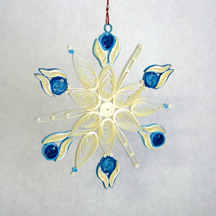
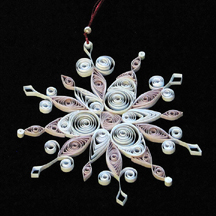
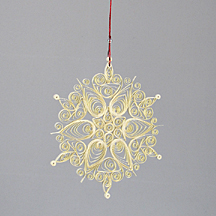
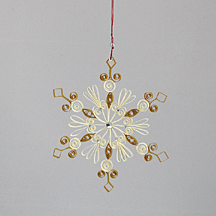
Snowflakes are very fun, relatively fast projects.
And the possibilities are, of course, endless as we all know there are no two
alike. As usual, there are larger photos under most of the small ones.
|
2024 |
 |
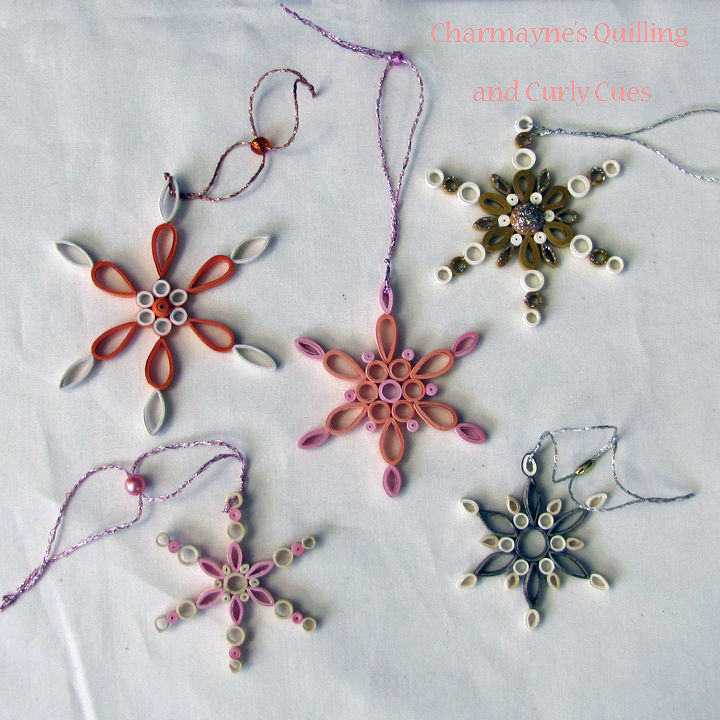
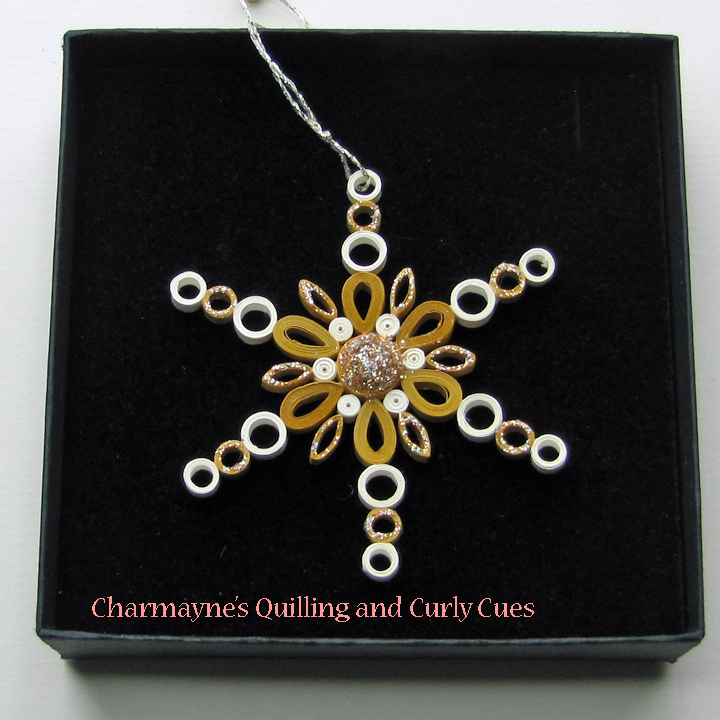
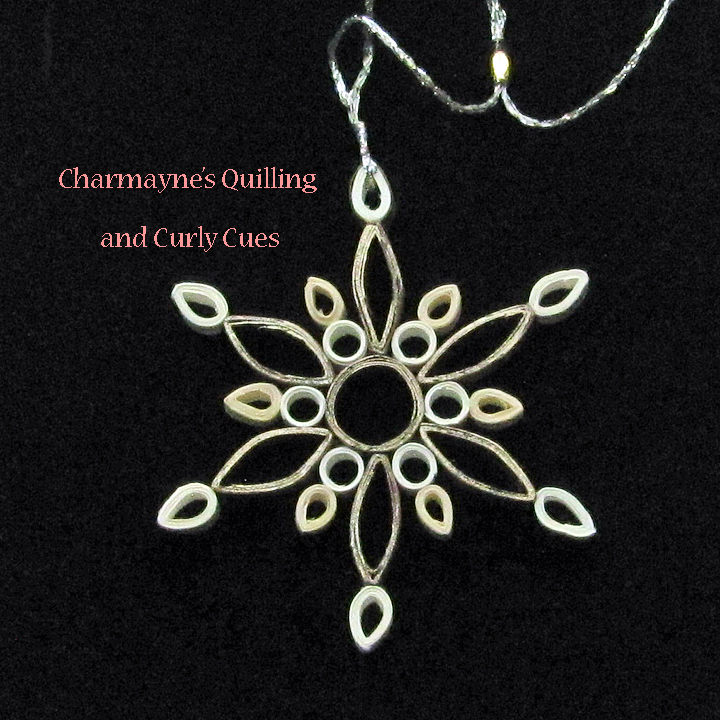
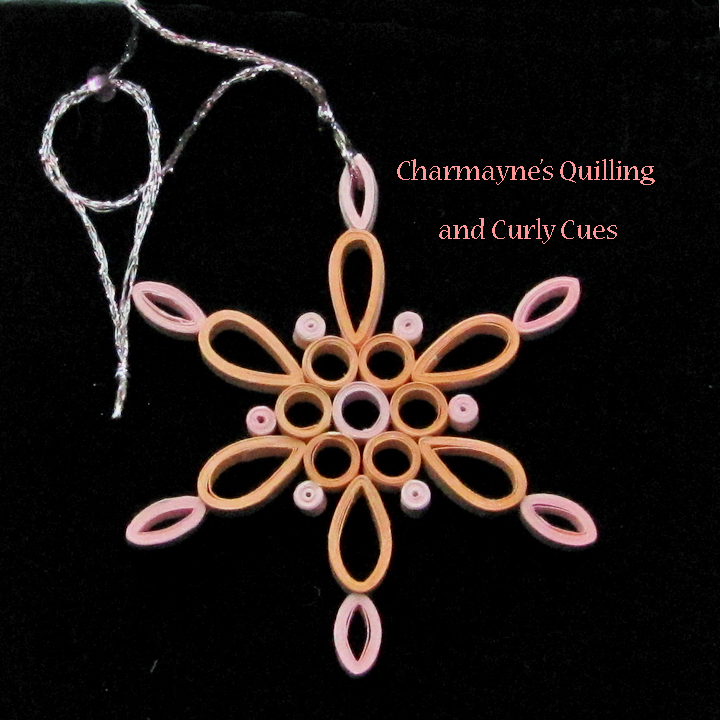
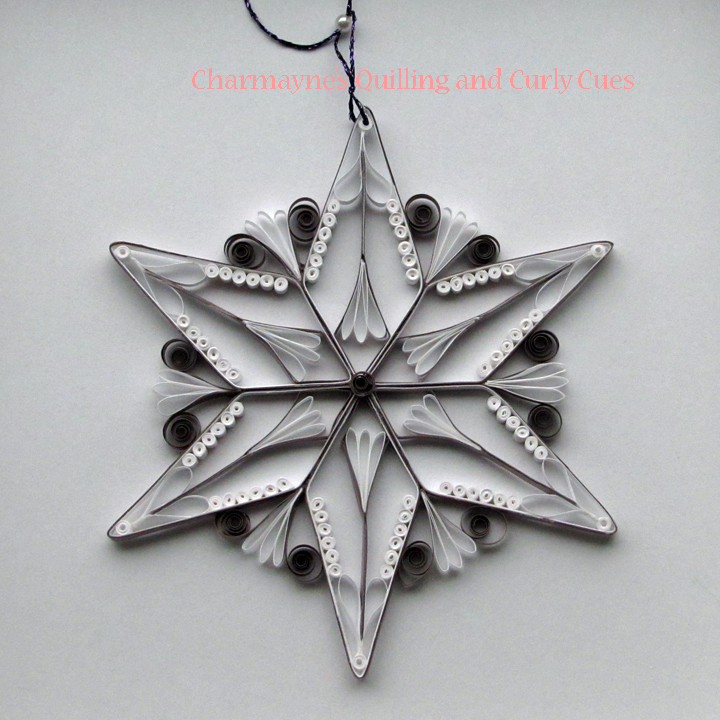
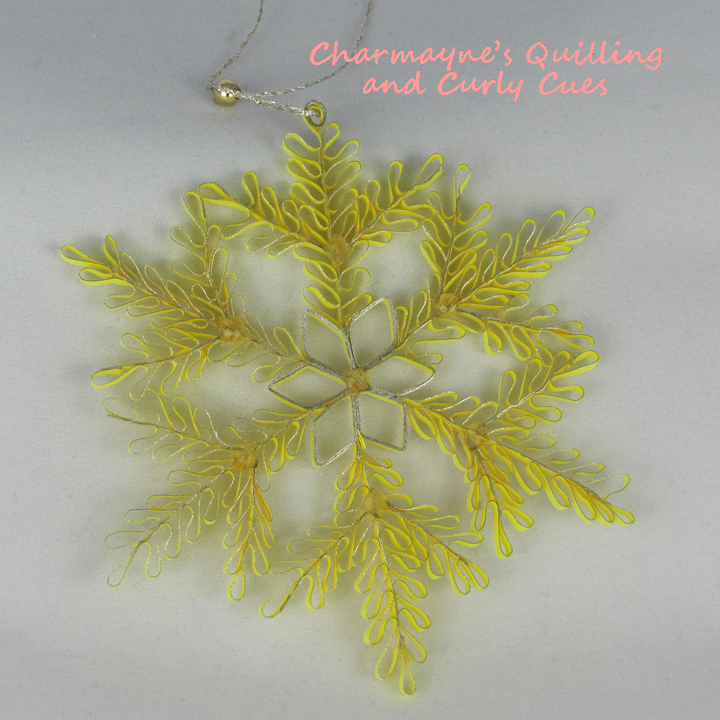
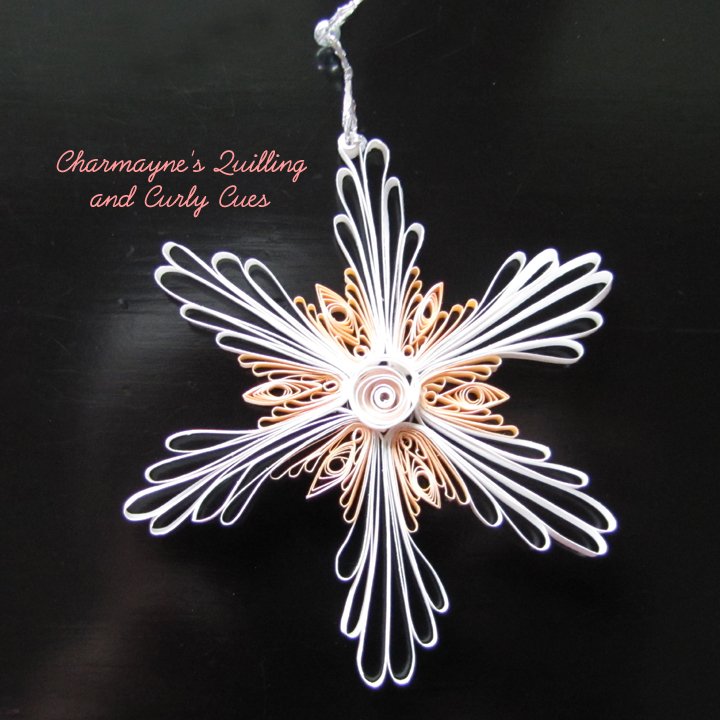
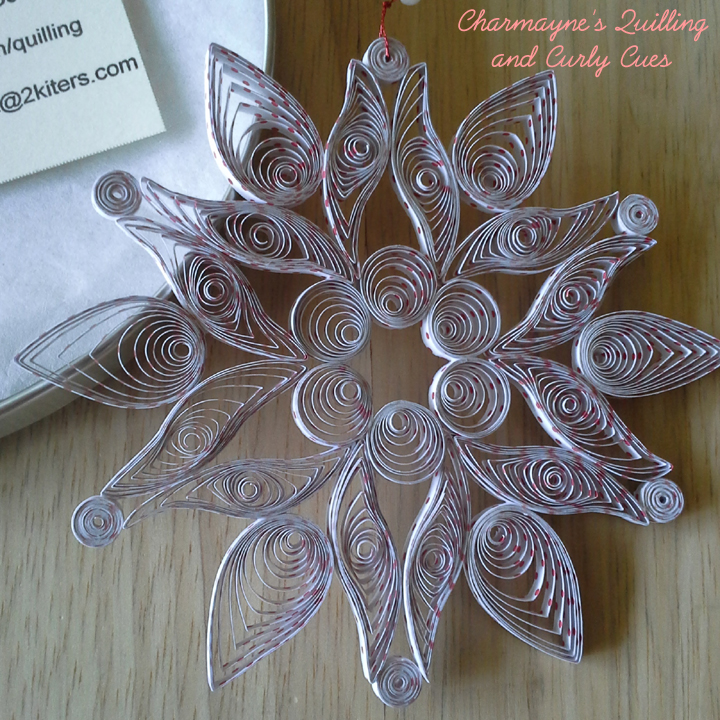
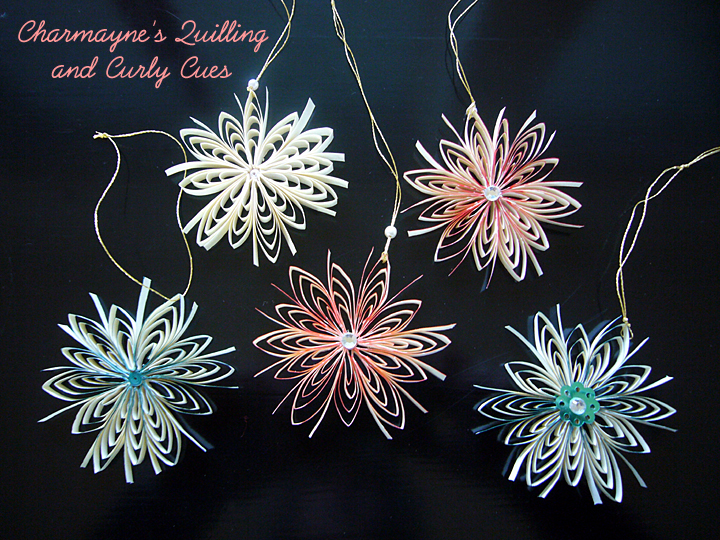
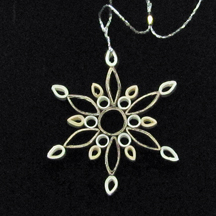
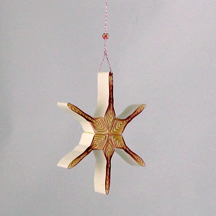
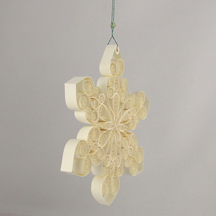
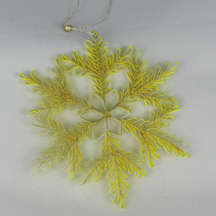
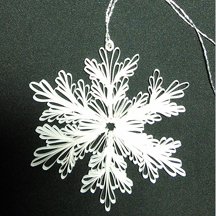
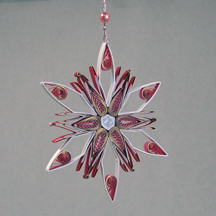
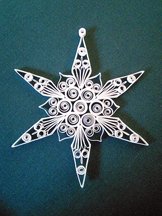
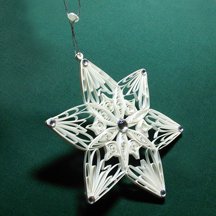
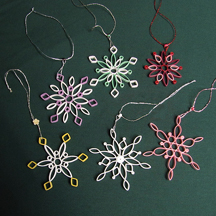
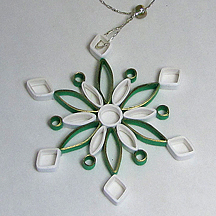
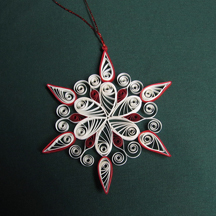
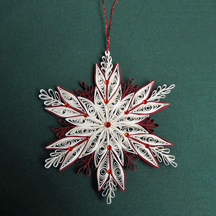
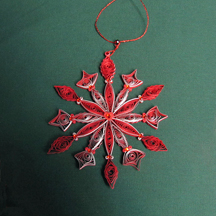
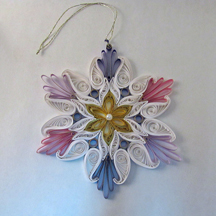
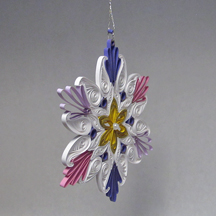
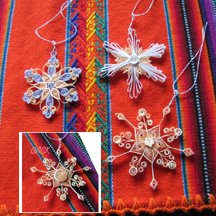
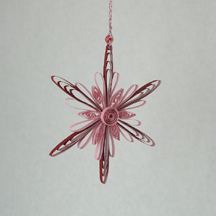
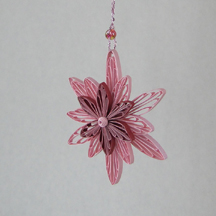
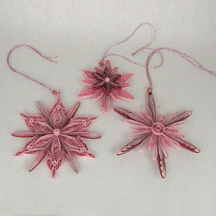
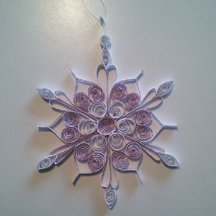
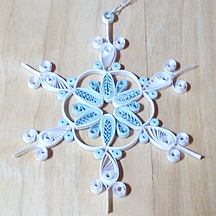
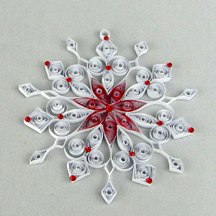
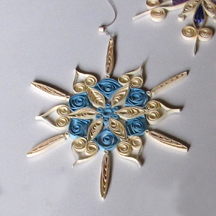
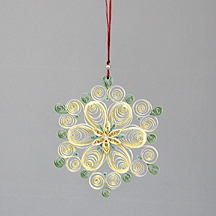
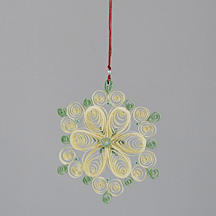
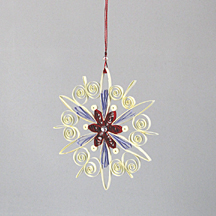
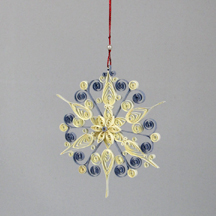
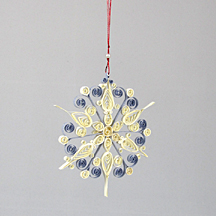
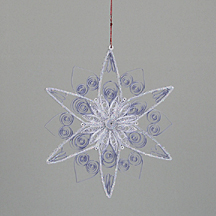
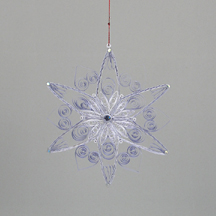
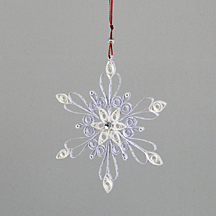
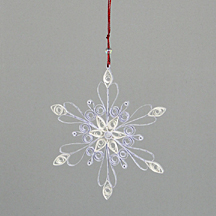
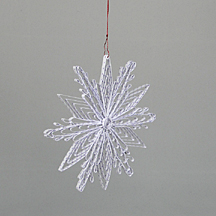
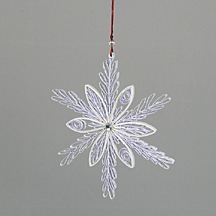
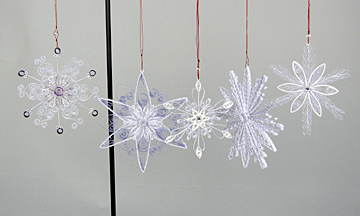
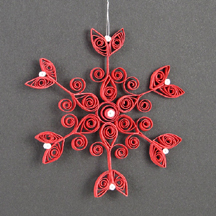
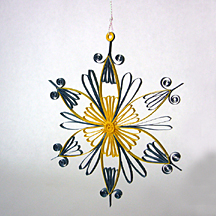
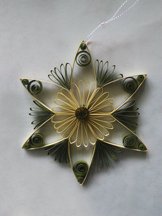
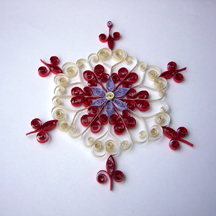
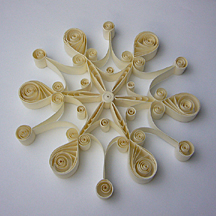
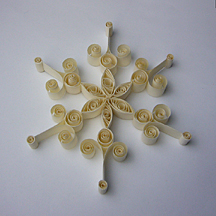
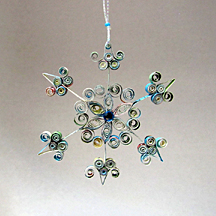
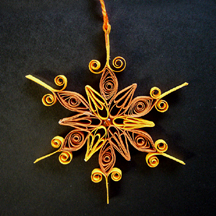
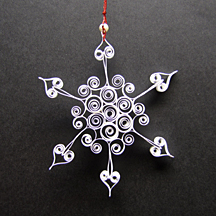
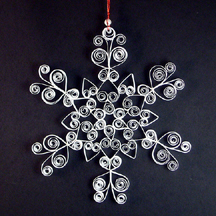
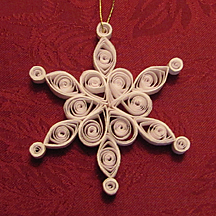
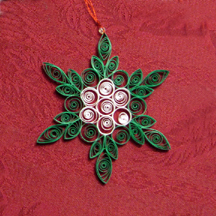
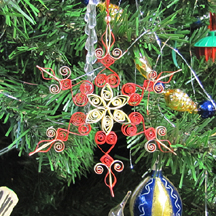
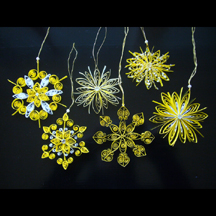
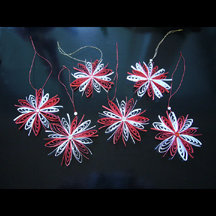
This year I made a few more ring snowflakes from scraps of quilling
strips. Not traditional colors for sure but just something to keep my
fingers rolling. Since my Christmas tree is so eceltic, they will look
fine. Some sparkle with glitter or gilded strips. |
 |
 |
 |
 |
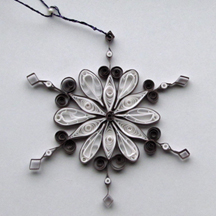
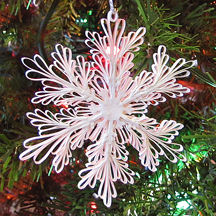
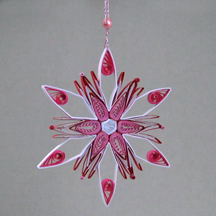
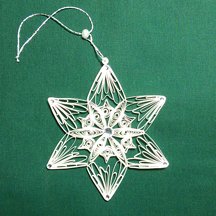
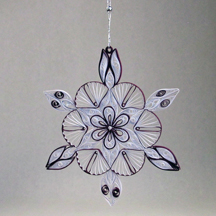
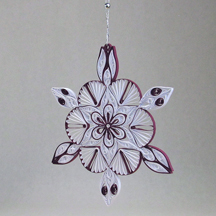
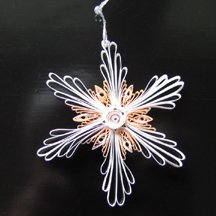
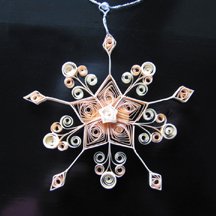
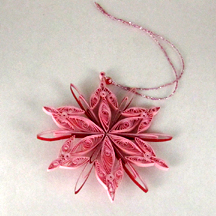
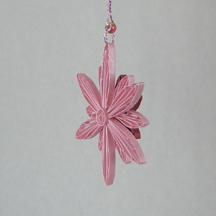
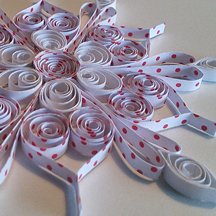
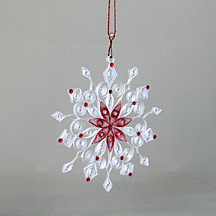
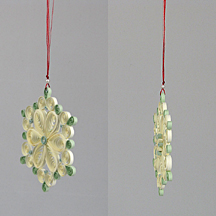
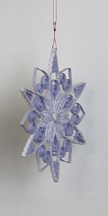
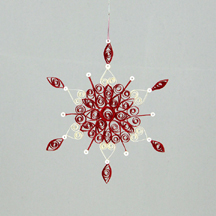
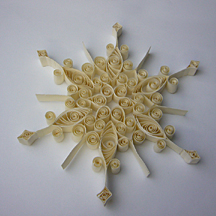
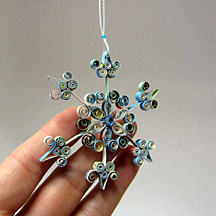
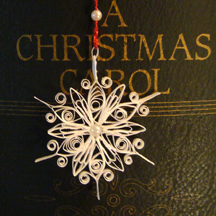
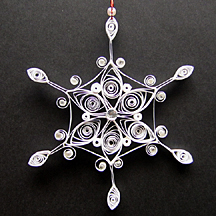
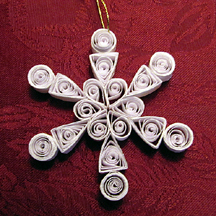
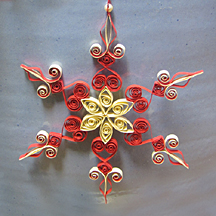
Since the attachment points between rings are so small, I added a bit of
extra glue along the edges. And some of the spokes will get a bit of
tweaking as I put them on the Christmas tree. |
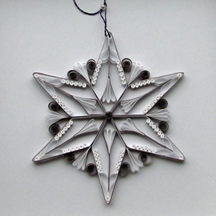
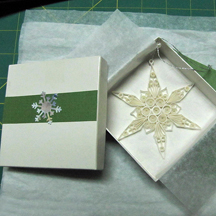
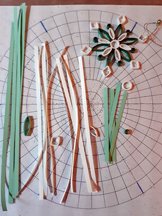
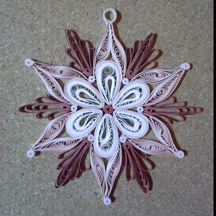
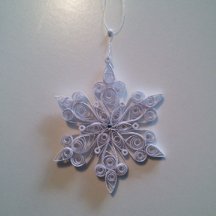
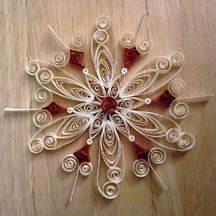
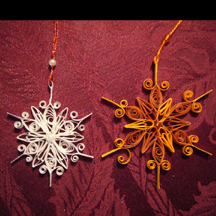
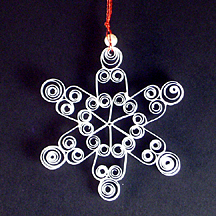
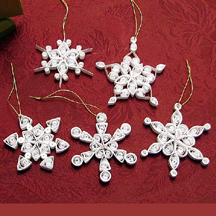
They are stored in little jewelry boxes for excellent protection. To
make it easy to put Christmas away, I print a small photo of the
ornament and tuck it into the box. |
|
|
|
|
|
2023 |
 |
 |
|
|
|
|
|
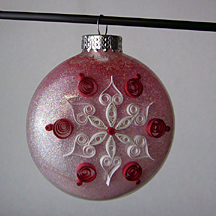
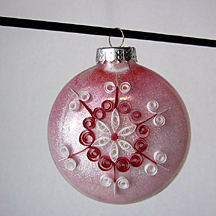
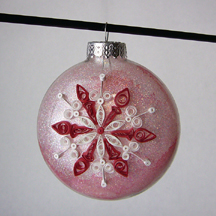
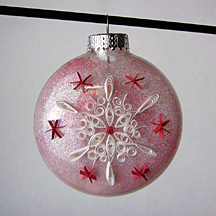
2020 |
|
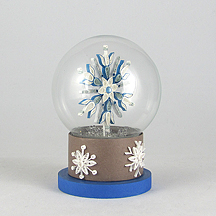
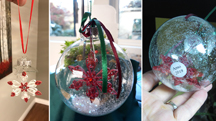
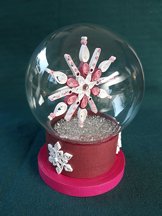
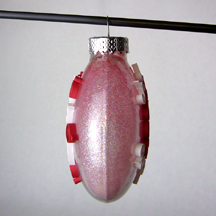
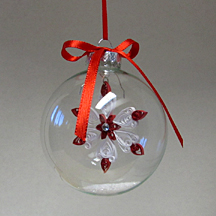
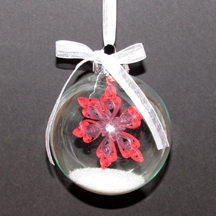
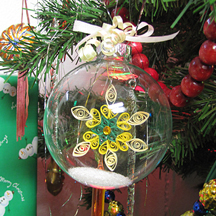
My fourth
"captured snowflake in a snowglobe" was made for my eldest son.
Scroll down to 2017 for some details on how I make these. It is a glass
ornament, turned upside down. |
front |
back |
close-up view |
|
|
|
|
 |
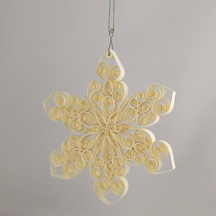
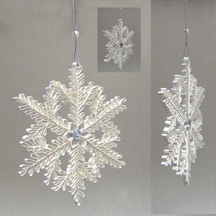
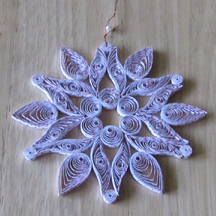
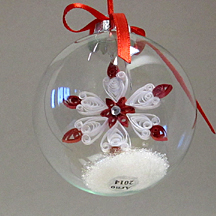
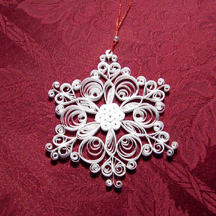
This is a delicate snowflake made with 1/8th inch strips.
|
 |
|
|
|
|
|
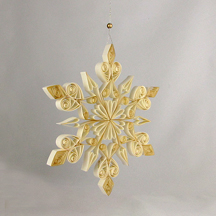
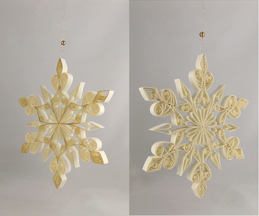
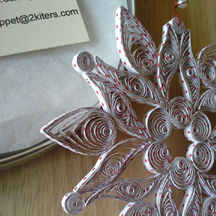
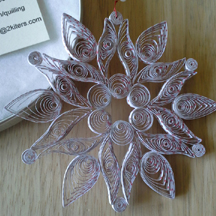
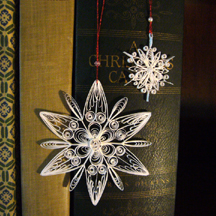
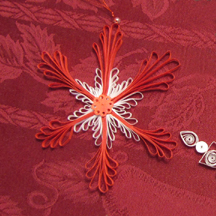
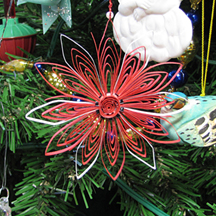
Four years ago I made a lot of giant snowflakes (project
here for details and how-tos). This year I wrote an article for the Quill America and for
that article, made a few more giant snowflakes. |
This snowflake has strips edged in red. I use a Sharpie permanent
marker. |
The leftover edged strips made into arrows for another snowflake. |
|
|
some strips edged in gold |
comparison of front and back |
hearts and Marquise quills |
note the reinforcing roll for the hanger |
These giant snowflakes are made from handcut 1/2" wide strips. I use
Standford Charcoal paper. It has enough weight to support the snowflake
design.
|
|
|
|
|
|
Two more snowflakes using the folding comb. Why? I don't know. They
still are not stable, and prone to being knocked out of alignment and the
little loops flattened. |
 |
 |
|
|
|
|
This snowflake was made for a challenge from a Facebook group I belong
to. |
Here is my quilled version. I later covered the center, both front and
back, with punched snowflakes. |
This was the picture posted.
Challenge: make a quilled one which
looks similar. |
|
|
|
|
|
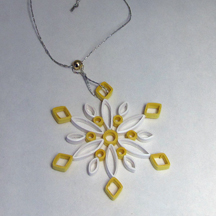
2019 |
A new Captured Snowflake for Arno. His was a victim of a new puppy
investigating the Christmas tree. |
 |
|
I made the snowflake to the right using a little folding brush to make
my quills. Each spoke uses 2, glued flat sides together. |
 |
It is not very stable and deforms easily. |
|
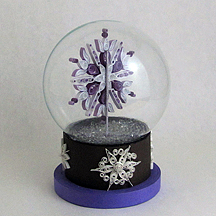 |
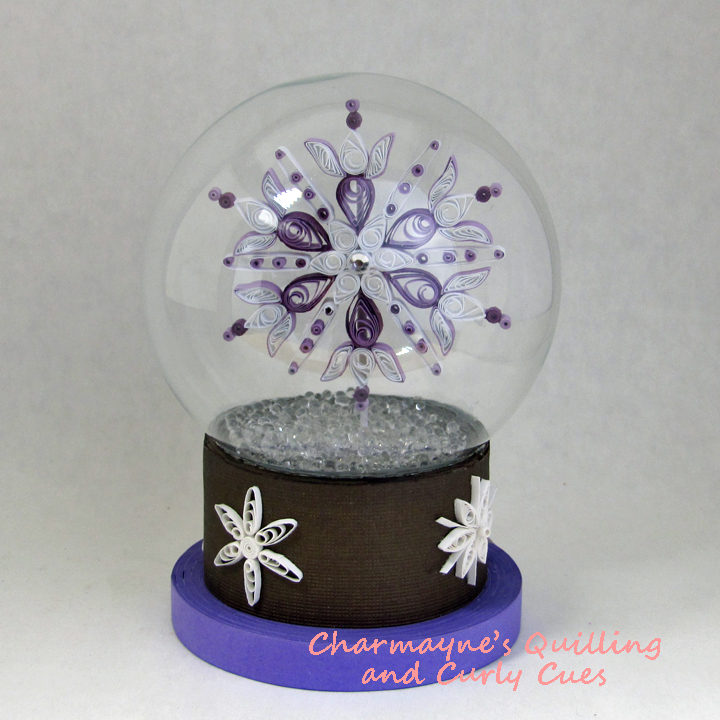
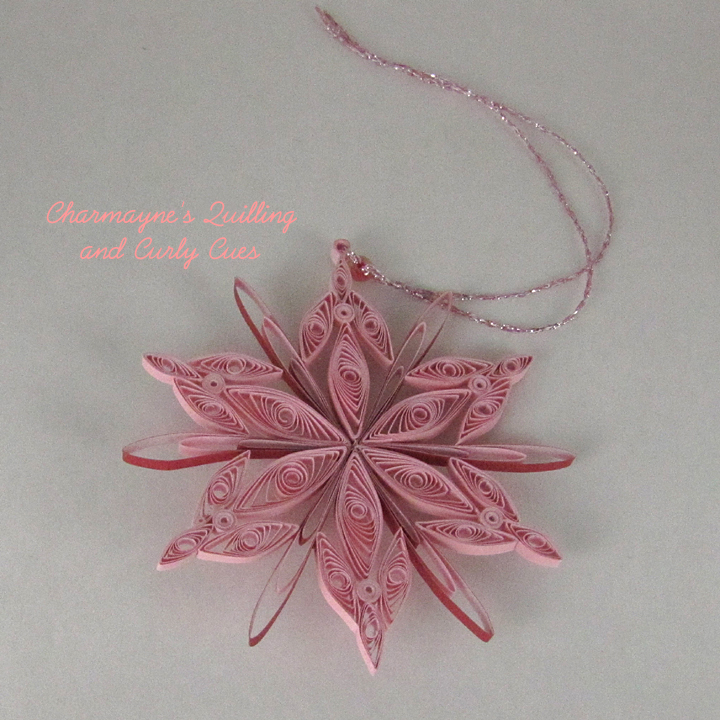
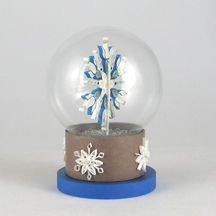
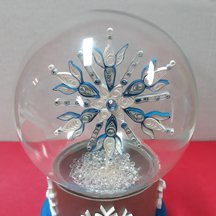
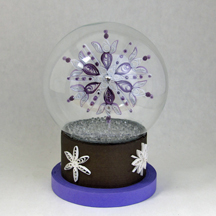
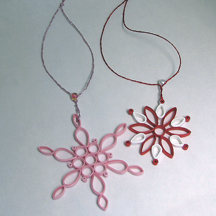
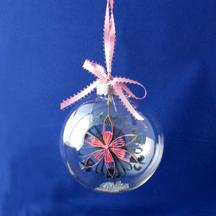
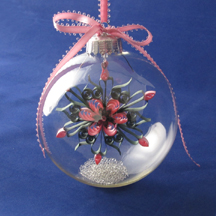
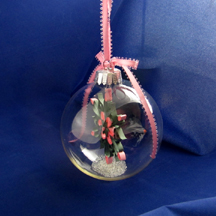
Another snowflake in a snowglobe.
This one I made especially for our Colorado daughter-in-law. |
 |
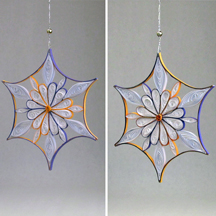
My edging changes color as this snowflake revolves. I often take a
couple pictures of my snowflakes as they turn. Straight-on front and
slightly off-side will appear different. |
 |
 |
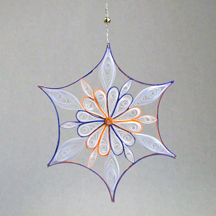
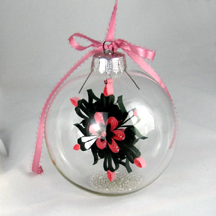
This snowflake was made from paper with a guilded edge. The commercial
strips are only guilded on one side. |
 |
 |
 |
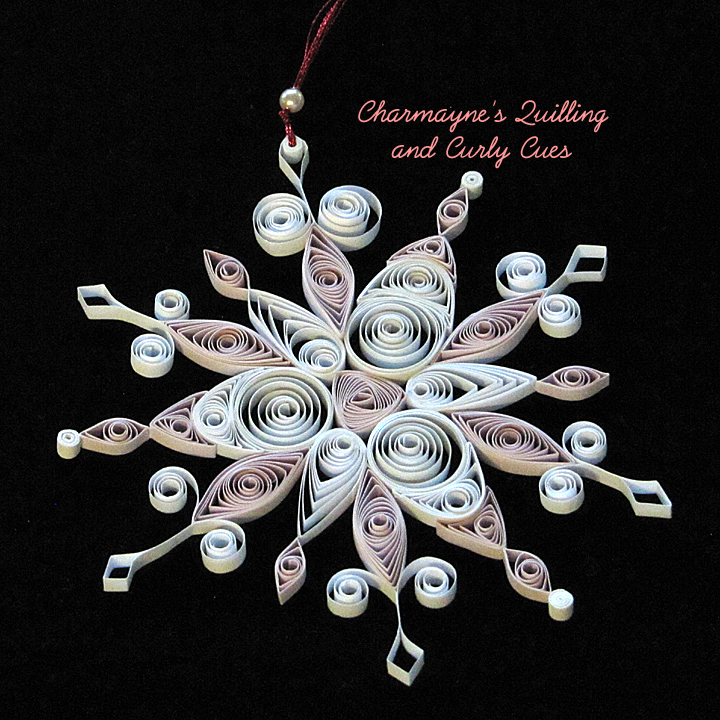
This snowflake is ready for giving and storage. It is in a recycled and
refurbished jewelry box. |
 |
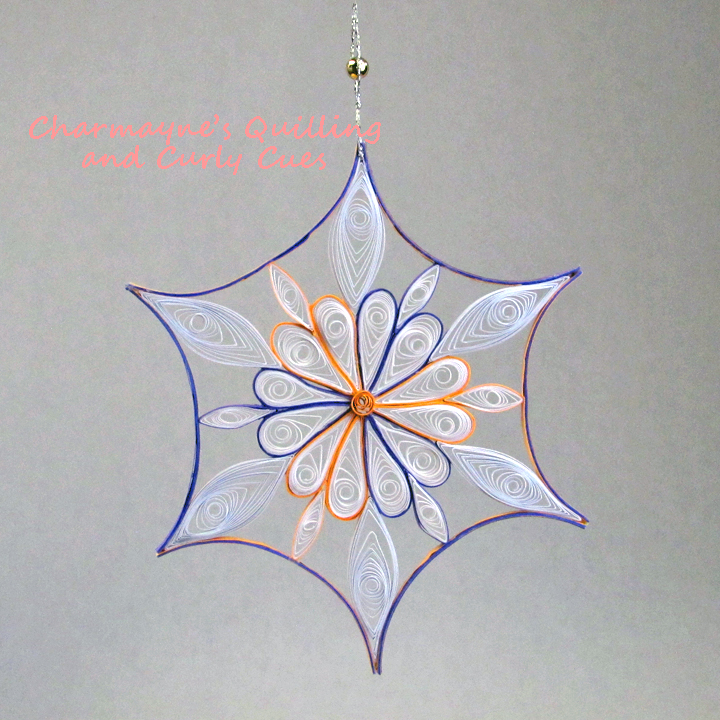
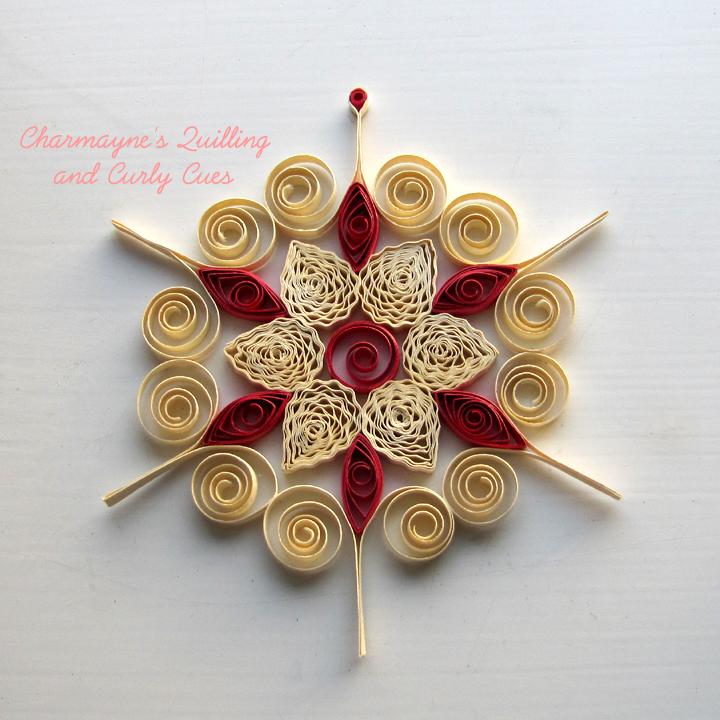
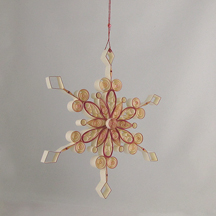
A snowflake with wheat ears, Marquise quills, and bunny ears. |
 |
|
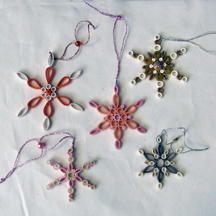
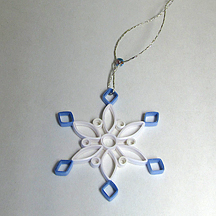
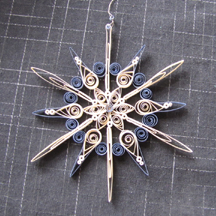
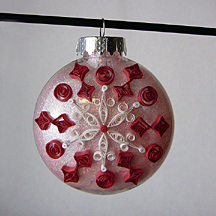
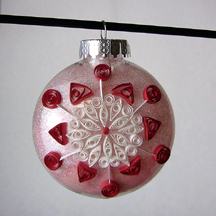
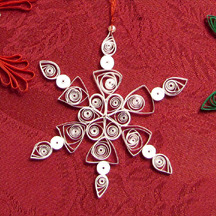
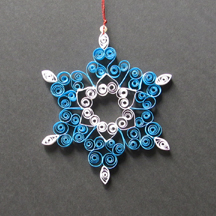
Ann Martin's tutorial for her ring snowflakes led to a flurry of new
snowflakes. I made sets for myself and also for friends. |
Here is how they start... |
 |
 |
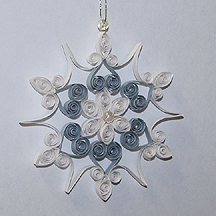
My sets were similar but not quite exactly the same.
Here are two of the
sets.
Some closer looks below.
|
 |
 |
 |
 |
 |
 |
This was a great project. They look
very nice on the Christmas tree. |
 |
 |
 |
|
|
|
|
|
Last snowflake of 2019... |
 |
 |
|
|
|
|
|
2018 Snowflakes |
|
|
 |
 |
|
|
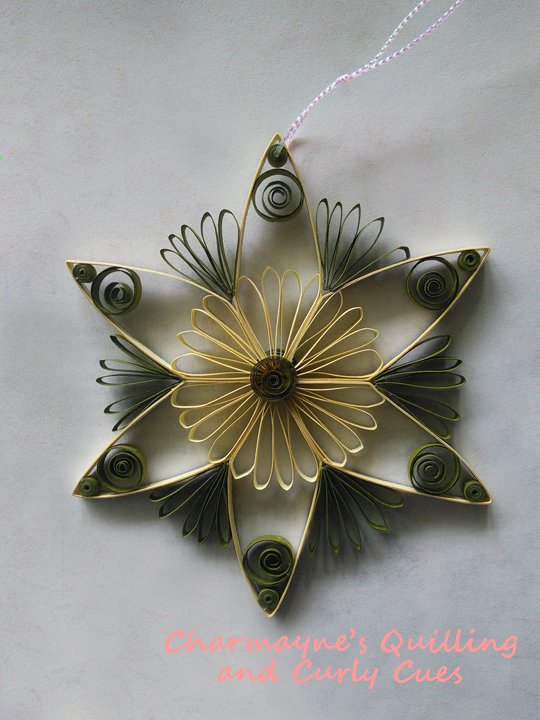
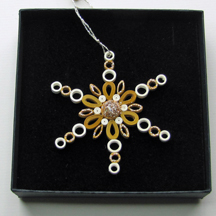
This snowflake has a golden center. The strips are metallic edged. |
 |
 |
|
for my friend Ellen... |
It takes a lot of pins. Nearly done. |
Inspiration from R. Streeton. |
the group of all three
|
the second snowflake... |
and an ornament. |
|
|
|
|
|
2017 Snowflakes |
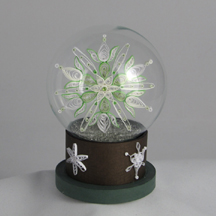
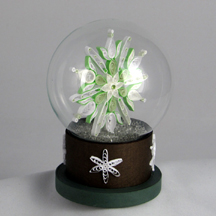
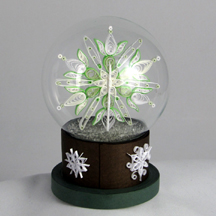
My really big, wonderful snowflake project for 2017 was getting a
snowflake inside a glass ornament but not hanging it.
Bob suggested
I should make a snowglobe with a snowflake inside. What????? Yes, not
hanging down, but standing up. OK. We figured it out. I built two, this
green one as a test and then a pink one for the NAQGCON 2017
competetion. |
The globe is glass, not a plastic 2-part snowglobe or ornament. It has
the small opening all glass ornaments have. I made the base for the
snowglobe from wide strips of paper. The ornament is resting in the base
upside down, turning it into a snowglobe. My "snow" is glass beads as I
did not want the glitter or snow to dirty up the glass. |
You can see in the photos below the back of the snowflake, being held
upright. I have made the parts for a
third snowflake, too.
I love how the snowflake fills the inside of
the globe. That was a trial and error process, getting the size of each
part correct. |
 |
Little snowflakes decorate the base made from 1/16" wide strips. |
 |
 |
 |
|
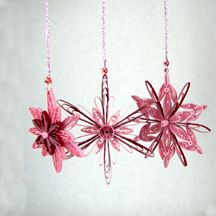
3 pink and red snowflakes for a friend. |
 |
Many times I make finish the back of the flake with another layer of
quilling. |

front |
back
|
back |
front |
back |
 |
 |
These spokes were made with a comb. The quilling paper gets looped around
the tines of a comb or onion holder. Easy and effective. The paper is
hand cut parchment stationery. It was not easy to glue as the finish is
so hard. When making snowflakes, pay attention to keep the center nice
and the spokes straight. I always use a polar grid. |
 |
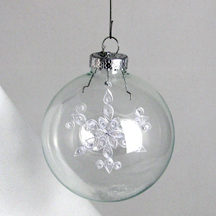 |
I made 3 more captured snowflakes. The white snowflake is in a regular
size glass ornament, the other two are giants. They have a 15"
circumference!
The one to the right needs to be taken out and
re-done. See how crooked it is? The spokes need to be held
straight until the glue dries. I laid this down and the spoke dried
tipped sideways. Not at all good.
These giant glass ornaments are so
big, I used 1/4" inch wide strips. |
 |
 |
 |
 |
Slight variation of a snowflake from an old booklet, Quill With Phil,
It's snowflake time! |
|
side view, beautiful polka dot paper
|
 |
 |
|
|
|
|
|
|
2016 Snowflakes |
|
|
|
|
|
|
The giant snowflake project started with a picture and tutorial I saw
quite a few years ago. Click here to
see my full project photos and some instructions and tips.
There is
a link to the original inspiration website, too, on the page that opens
for my project.
|
 |
|
|
|
|
|
 |
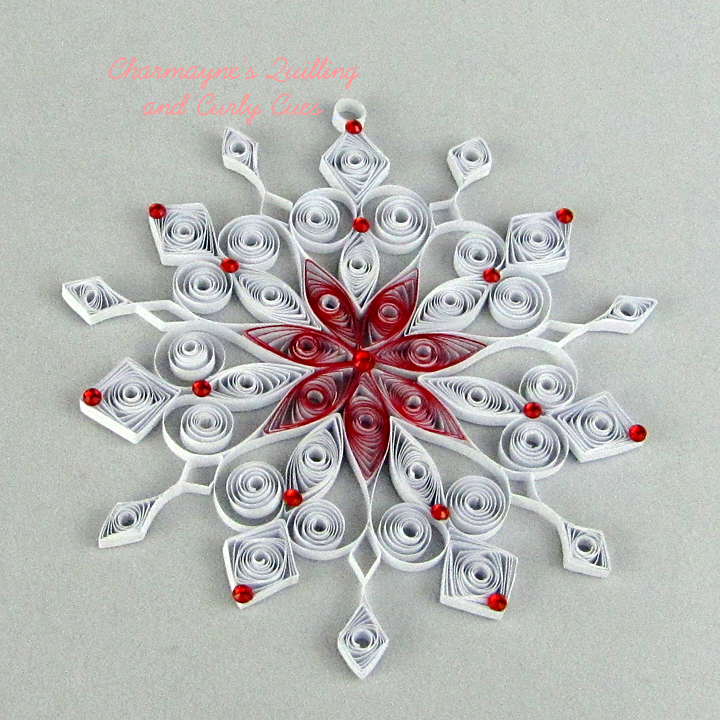
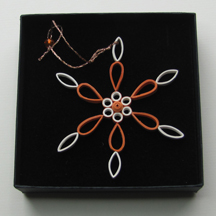
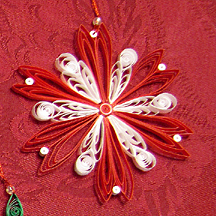
Snowflakes always look so intricate but you can look closely at them and
break them down into the basic quilling shapes. This one has the
addition of little rhinestones. The center was made with the same white
paper, first edged with a red permanent marker. |
 |
|
|
|
|
This snowflake is made with polka dotted paper from Karen Marie Klip. |
The paper is white with red dots on both sides of the strips. |
Paper width is 3mm or similar to our 1/8" wide. |
|
|
|
|
I made 5 more snowflakes in June of 2016 while we were in Europe. You
can take your quilling along on trips as it can be such a portable hobby,
requiring only a few supplies and space in the suitcase. |
 |
 |
 |
 |
 |
The first few I made in 2016 used 1/8" strips,
cream or ivory in color. Most have at least one other color for accent
and some have pearls and jewels glue on. I try to think of how they will
look on a Christmas tree or on display some way or another. Therefore
many are "finished" on the back, too. I check for excess glue, cover the
middle with a narrow strip coil or another jewel. I want the back to
look as nice as the front. |
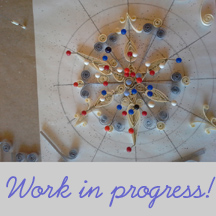 |
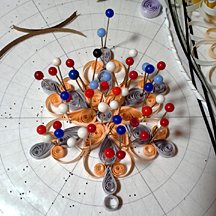
A snowflake in the making. It takes a lot of pins!
Click the photo,
bring up the larger
picture and to the left you will see a stack of small tight rolls
secured with a pin, ready to glue into place. |
 |
 |
|
 |
 |
 |
front |
back |
side view |
 |
front |
back |
|
|
|
|
|
I love Karen Marie's white with lavender polka dot paper. I made five
snowflakes and several angels using it. Click on the small photos to go
to the large pictures. These little dots of hard to see in such a small
picture! Click here for the angels. |
 |
 |
 |
 |
 |
front |

side |
back with a glitter ball center |
 |
 |
 |
|
|
|
|
|
2015 Snowflakes |
|
|
|
In 2015, I made any number of snowflakes. To me, they are what quilling
is all about. Tight coils, open quills, shaped loose coils. Delicate and
precise with great attention to details. Beautiful and dainty yet sturdy
and useful. I know there are quillers who have "progressed" beyond
snowflakes. I read a quilling book review just recently where that was
mentioned. I love snowflakes, find they make wonderful Christmas gifts,
and hope I never stop making them. Here are some of mine. |
 |
 |
 |
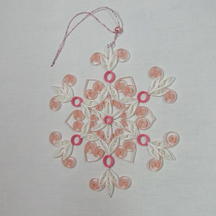
I made several white and red snowflakes while on Jury Duty. It could
have been pretty boring during the waiting times. Reading and quilling
made those times pass very quickly. |
 |
 |
I made several ornaments with snowflakes on the outside of the glass ornament. Each is
double sided and the snowflakes are all different, side to side and
different from ornament to ornament.
|
 |
 |
 |
 |
|
I did not want the snowflake from the reverse side to show through. Here
is what I came up with... I diluted standard white glue with water and
added a drop or two of liquid food coloring. I poured some into the
ornament, swished it around to completely coat the inside and then
poured in glamour dust. Glitter was too coarse. This all has to happen
very fast. My coating did not come
out perfect. It is hard to judge exactly how much glue will coat the inside
and not puddle into the bottom, even after I poured out some excess. And
you need to be very fast with the glamour dust. Pour a lot into the
ornament and shake it around. You can re-use the excess. I also saved
the excess diluted and tinted glue by capping the little bottle I mixed
it
in. Without the food coloring, the coating is white and iridescent. Very
pretty and opaque. |
 |
 |
  |
 |
 |
|
I started making a set of very large snowflakes from heavy-weight cream
colored paper. I hand cut the paper into 1/2 inch (about 13 mm) strips.
I plan to hang them in my windows. The paper doesn't accept the glue
well so it is a slow process to make each quill. 3 is a good start, but
I think this project will carry-over to next year. |
 |
|
 |
 |
|
|
2014 Snowflakes |
|
|
 |
 |
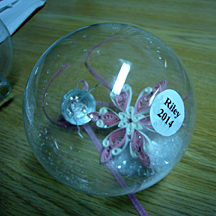
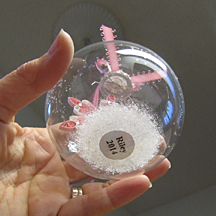
You cannot see the little smaller-than-a dime label until you look
underneath! Yes, it is inside! |
|
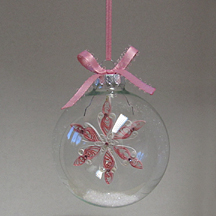
One of my sons thought it would be nice for his children to have
snowflake ornaments of their very own as something to cherish from their
Grandmother as they
decorate their Christmas trees in the future. Bob and I are big on
putting the child's name on things and so we came up with a way to
permanently label the Captured Snowflakes for Arno and Riley. |
This is a multi-step process but not at all hard. It is quite a bit to
write on this page so click HERE
to be taken to a PDF file. It will give you my step-by-step instructions.
Make sure you put the label inside the ornament before the snowflake. I
added Riley's after the snowflake was inside and it was more difficult
than necessary. |
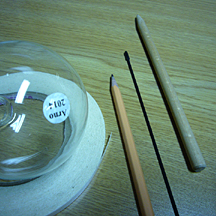
Tools |
 |
 |
 |
|
One of my daughters-in-law has several Berenstain Bears story books for
Arno and Riley. I found one at our local Thrift Shop and, having never
read any of these books, brought it home. Eek! Pages were torn and
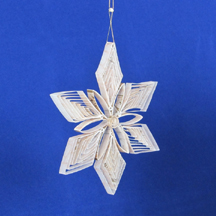
others written on. Totally unacceptable so the book became "up-cycled"
into quilling strips. Here is the lovely snowflake... |
 |
 |
 |
|
|
 |
I very much like this snowflake.
I started with a star using
Karen-Marie's star system method. Then I added the details including
comb quilling. It measures 4.25" across.
Pictured to the right is a
size comparison of two snowflakes. The little one is 2.25" across |
 |
My first snowflake of 2014
|
My second came out quite different, even
though I thought I was making another one in white. Differences noted to
the right. Another difference very hard to see is the crystal glitter I
sprinkled on top of a light brushing of PPA glue. |
The center tear drops in the first got squished into Marquise shapes in
the white snowflake. Oops. I was watching TV! The size difference came
about do to a shorter strip length. Snowflakes are all different but if
you want 2 alike, pay attention to what you are doing! |
| |
|
|
| 2013 snowflakes |
|
|
 |
 |
 |
 |
 |
 |
 |
 |
 |
| I started quilling
snowflakes according to the instructions in a LOVELY book called
"Snowflakes, Sunbursts, and Stars" by Ayako Brodek and Shannon Voigt.
This is a wonderful book in all ways possible. I have done the first
four snowflakes; to the right are numbers three and four, Sleet and
Flutter. |
Sleet, 2 1/8" across. Tiny!! |
Flutter, 3 3/4" across. |
The pictures in this row are made from 1/4 inch wide paper, actually
cut with a standard paper shredder. Don't do this unless your shredder
is new!
|
as
I made these snowflakes for one of my sons' family. My thinking was these
snowflakes would
be less delicate for little hands and would stand up to grandchildren decorating the
tree! |
Next time, I will use actual 1/4 inch quilling paper. My
shredded paper has fuzzy edges. I was impatient and did not want to wait
for my paper order to arrive...
|
 |

|
 |
 |
 |
 |
While looking at pictures on-line one
evening, I came across the "Captured Snowflake". This is so intriguing.
I purchased the excellent instructions on-line. (Note: you can buy the
instructions, too. Go here to
The Art of Quilling.) I
found the empty glass ornaments at
Michael's craft store before Christmas. After several frustrating evenings and
two
completed Captured Snowflakes, Bob suggested I needed tools. The proper
tools always make the difference. We got long tweezers in a set,
again at Michael's, in the jewelry making section. The set of four has
several wonderful types of tweezers. My 3rd and 4th Captured Snowflakes
were more successful and much easier. I am still having struggles getting
everything flat in all directions. Practice makes perfect I guess. |

This is my first Captured Snowflake. I was
afraid I'd break a glass ball with my first attempts and thought
about using plastic balls but don't worry, go
with the glass! I used some faux snow in the bottom of the ball. My
others have the crystal snow I should have used initally. |
This is my second Captured Snowflake. Bob
suggested adding a little color. It is not completely straight, yet it
is still quite fascinating to see the snowflake encased in the glass
ornament and perhaps no one will notice imperfections while wondering
how I got the snowflake inside. Note this snowflake is different than my first.
 |
 |
|
This snowflake was made using a comb.
Naturally, it is known as comb quilling. |
 |
Snowflakes are delicate looking on the
Christmas tree. They are very nice hanging from thread in windows, also. |
 |
Daggi's set |

Several comb quilled snowflakes |
"Candy Cane" snowflakes |
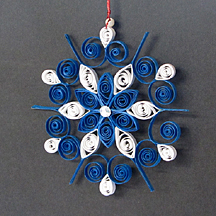
Sometimes it is hard to figure out the
shapes in a design. This one has hearts in the center. Scrolls,
S-shapes, and inverted V shapes make up the blue section and white
marquis are on the outer tips of the snowflake. |
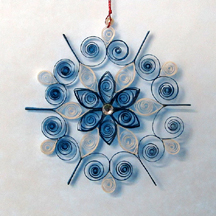
Nearly the same shapes as the snowflake
to the left but a very different end result. I put a little pearl in the
center. Sometimes you need it to cover a less than perfect hole, other
times it just is nice. |

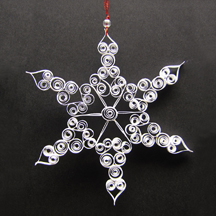
This snowflake has little clear
rhinestones covering 6 joining's as well as the center. I glued them on
both sides. They are little flat "jewels" I found at the craft store.
Hint: use tweezers to place them. |